
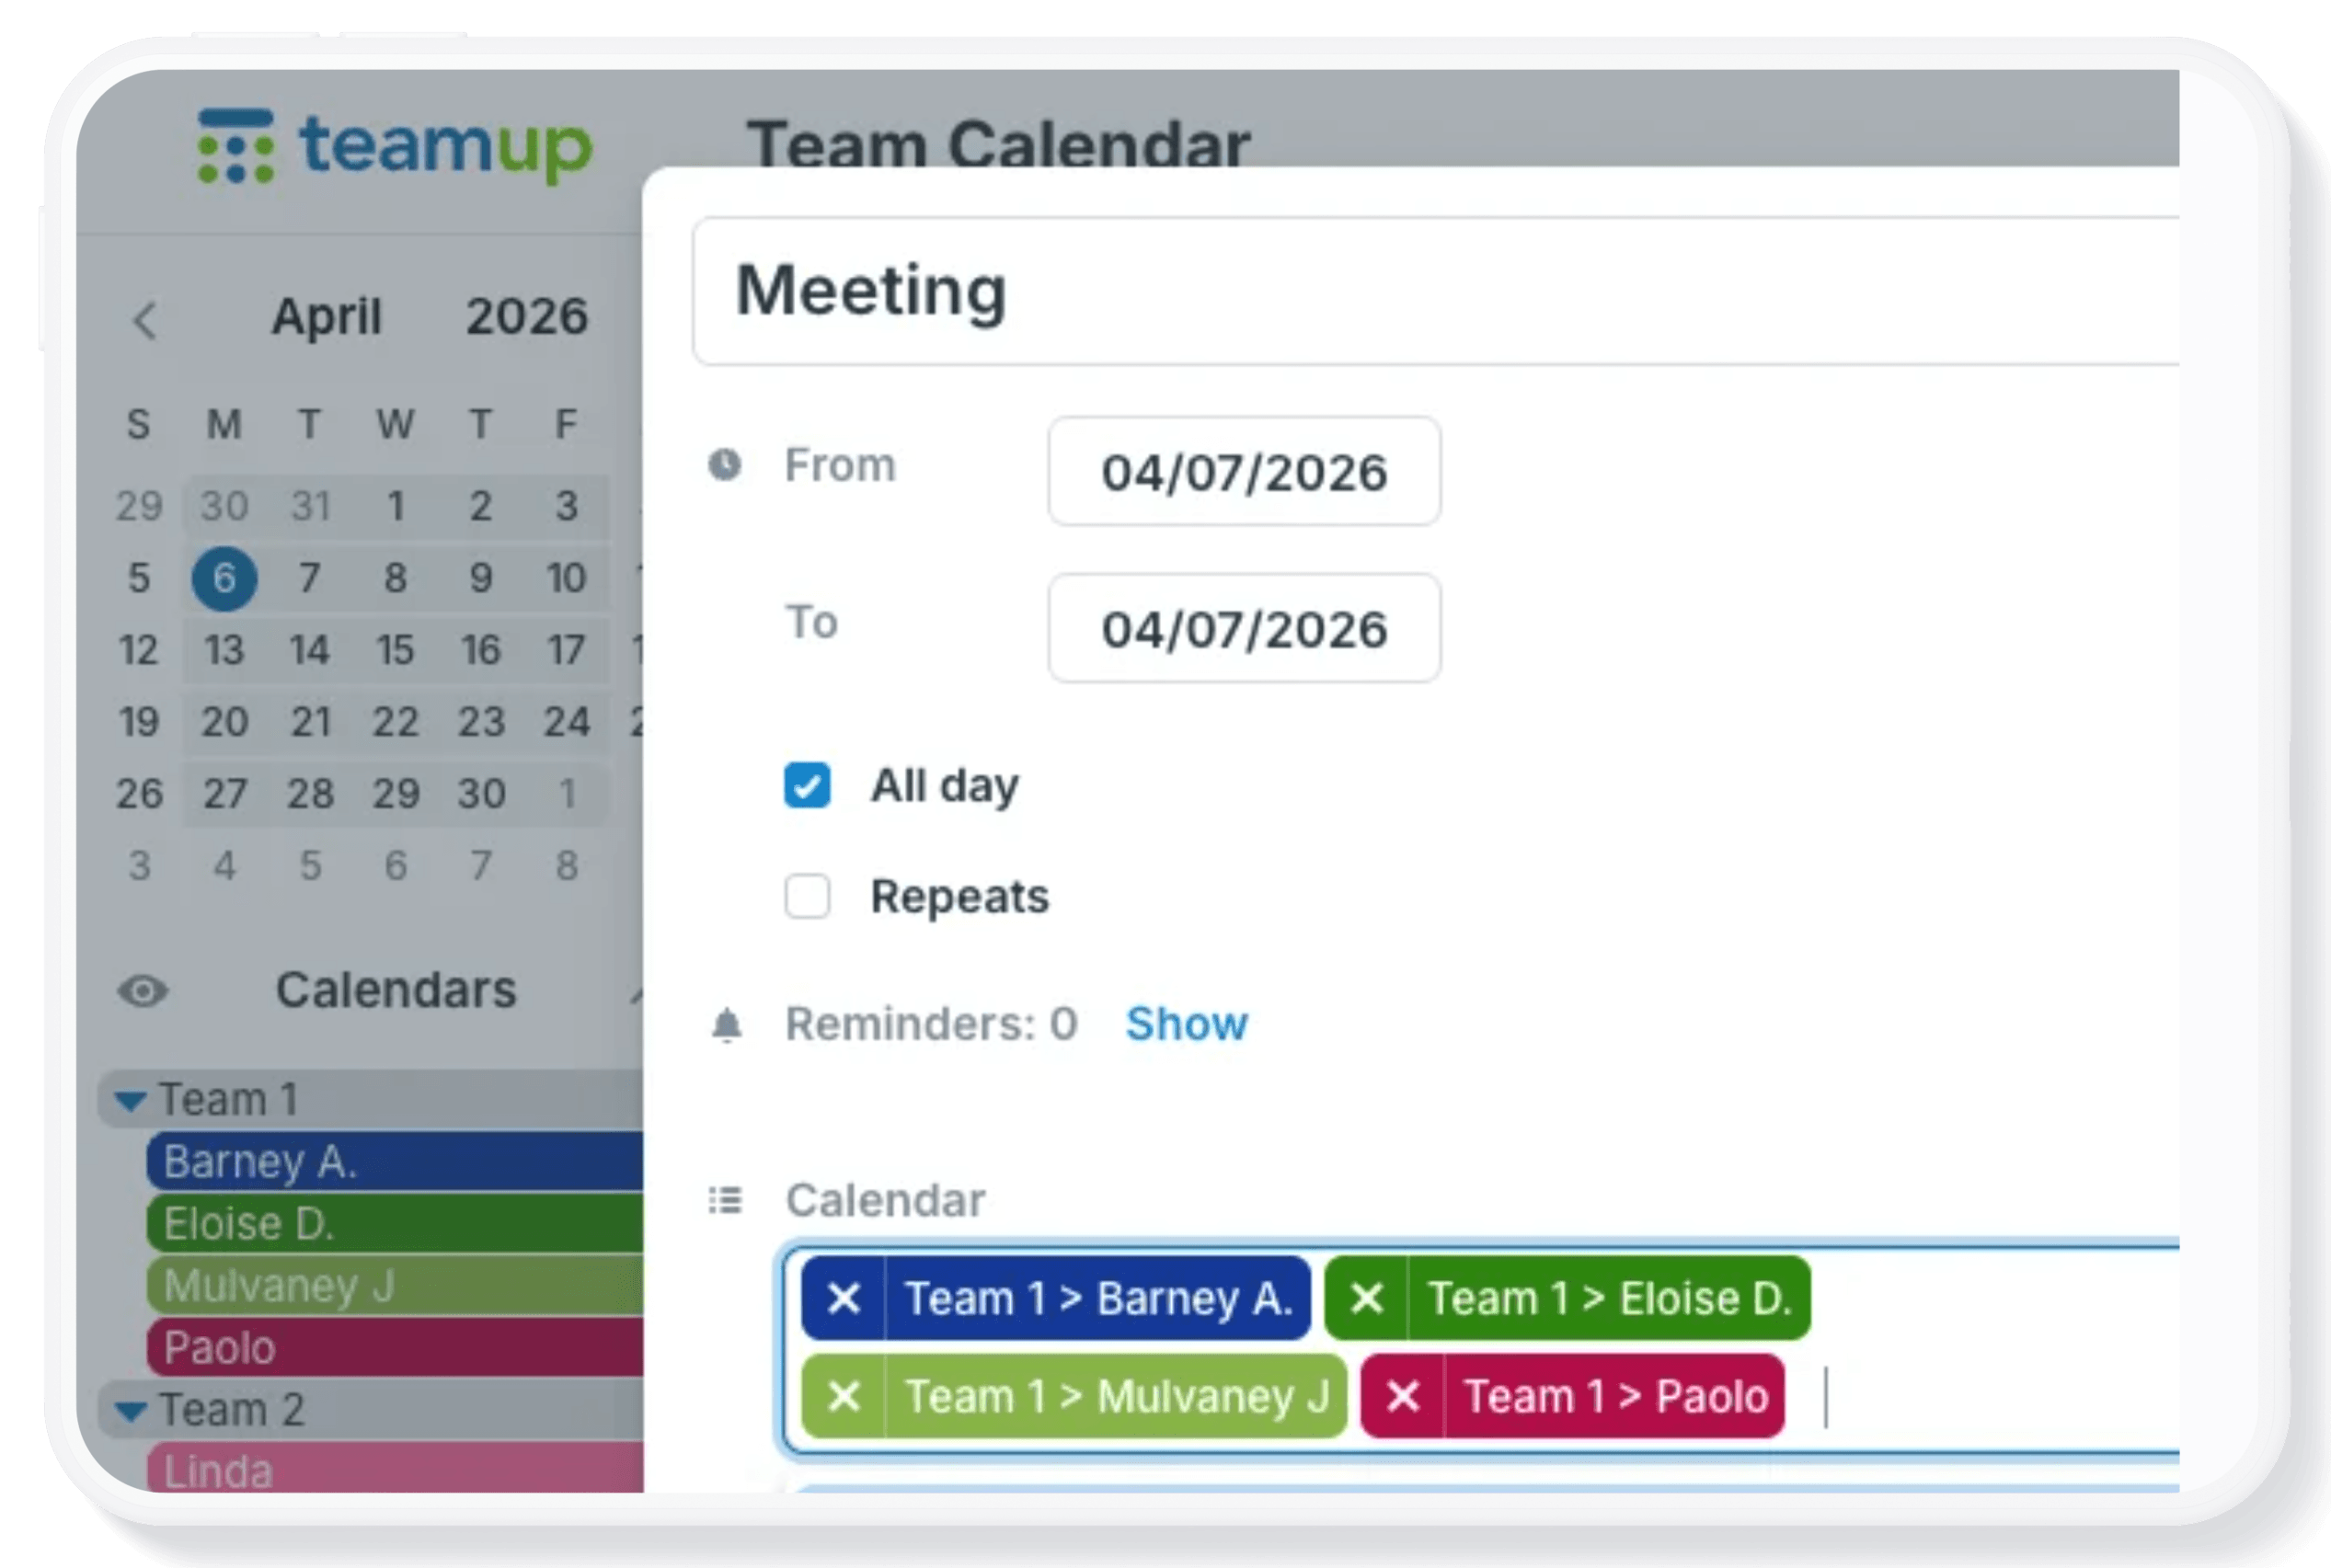
A well-designed shared calendar makes it easier to coordinate people, projects, resources, and schedules. The right setup keeps information organized, gives users appropriate access, and provides flexibility as your needs change.
Start with these tips to set up and organize a shared calendar that’s easy to use, scalable, secure, and built to work for your team.
Tip 1: Start with a clear calendar purpose
A few minutes of planning before creating a calendar can save a lot of time later. Teamup is flexible enough to support many different workflows, but the best setup depends on how the calendar will actually be used.
Before creating calendars, sub-calendars, and custom fields, think about the people who will use the calendar and the work they’ll be doing. A calendar designed around the team’s workflow is easier to use, easier to maintain, and much more likely to be adopted.
A few simple planning steps can help:
- Define the calendar’s primary purpose. Consider what team members need to accomplish when using the calendar: Manage availability, organize and collaborate, schedule work, make information visible, share events, stay synced on the field. Let that primary goal guide your setup.
- Map your workflow. Think through the typical process from start to finish. What information needs to be captured? Who creates events? Who updates them? Who only needs to view them? Designing around your workflow helps determine the right calendar structure and permissions.
- Experiment before finalizing. Explore different layouts and ideas using Teamup’s live demo calendars. Each demo is fully functional, so you can test different structures, workflows, and features before building your own calendar.
Tip 2: Build a calendar structure that scales
When planning a new calendar, it’s natural to focus on getting events onto the schedule. But as teams begin using a shared calendar, they often discover it becomes much more than a scheduling tool. It evolves into a central place for coordinating people, resources, projects, and the information needed to get work done.
Taking a few minutes to design a scalable calendar structure from the beginning makes it easier to stay organized as your calendar grows.
Keep these best practices in mind:
- Use sub-calendars to organize information. Create sub-calendars for different teams, projects, resources, event types, or locations. This keeps the calendar easier to navigate and makes it possible to filter the view when needed.
- Keep the structure organized. While sub-calendars are powerful, they work best when they’re thoughtfully organized. Use folders to group related sub-calendars together so users can quickly find what they need without scrolling through a long list.
- Consider all scheduling factors. Scheduling is multi-dimensional. Organize the primary scheduling factors, such as team members or resources, with sub-calendars. Use custom fields to capture and track other details that affect scheduling.
- Think about long-term scale. Some organizations operate best with a single master calendar that can keep separate locations, departments, or projects in one place for a combined overview. Other organizations may benefit from separate master calendars for different regions or business units. Consider how the calendar may grow over time and choose a structure that will continue to work as your organization expands.
Tip 3: Keep the calendar simple to use
A well-designed calendar captures the information people need without making everyday tasks feel complicated. The goal is to create a calendar that’s organized enough to support your workflow while remaining intuitive for everyone who uses it.
As you build your calendar, look for ways to reduce unnecessary complexity:
- Use only the organization you need. Sub-calendars and folders are excellent organizational tools, but you don’t need more than your workflow requires. If some sub-calendars remain empty or folders are rarely used, simplify the structure. See three ways to set up a vacation tracking calendar for examples.
- Capture meaningful information. Custom fields help standardize important details, but every required field adds another step when creating or updating an event. Include information that supports scheduling, reporting, or collaboration, and leave out fields that don’t provide ongoing value.
- Avoid duplicate fields. Let each layer of information serve a clear purpose. For example, if sub-calendars identify team members or departments, there’s usually no need for a custom field that stores the same information.
- Design for clarity. A successful shared calendar makes information accessible and understandable for the people who need it. Use color-coding, visual cues, clear field labels, and calendar views to build a shared scheduling space that makes work easier.
The best calendar setup is often the simplest one that fully supports the way your team works. Start with a clean, practical structure, then refine it over time as your processes evolve.
Tip 4: Design the calendar for your users
Whether the calendar is shared with coworkers, clients, volunteers, contractors, or the public, a thoughtful design makes the calendar easier to adopt and use every day. As you build your calendar, look at it from the perspective of the people who will be viewing and updating it. Small improvements in organization and presentation can make a big difference in the overall user experience.
Consider these best practices:
- Use clear, descriptive names. Name sub-calendars so users immediately understand what they represent. Avoid internal codes or abbreviations unless everyone using the calendar is familiar with them.
- Provide guidance where it’s needed. If your team follows specific scheduling conventions or workflows, add instructions to the calendar’s About box so users always have a convenient reference.
- Make the calendar convenient. When sharing a calendar with clients, external groups, or the public, an embedded calendar may be the most convenient option. Team members should be added as users with appropriate permissions (more below) for convenient access on a browser or in the Teamup app.
A calendar that’s easy to understand requires less training, reduces questions, and helps everyone work more efficiently. Designing with the user experience in mind makes the calendar more valuable for everyone who relies on it.
Tip 5: Give each user the right level of access
One of the biggest advantages of a shared Teamup calendar is that different people can collaborate in different ways. Team members may need to create and edit events, managers may need a complete overview, while clients, contractors, or volunteers may only need to view a limited schedule.
Use Teamup’s granular permissions to customize access for each person’s role. This keeps the calendar secure, reduces clutter, and makes it easier for users to focus on the information that’s relevant to them.
Follow these best practices:
- Align access with roles. Match permissions to responsibilities. Teamup offers several access levels, from view-only to full editing permissions. Start with the lowest level that allows someone to do their job, then increase access if additional permissions become necessary.
- Separate internal and external information. Keep internal planning, administrative work, or confidential events on sub-calendars that aren’t shared with clients, contractors, or other external users.
- Limit administrator access. Calendar administrators can change settings, manage users, and control the entire calendar. Reserve administrator access for one or two trusted individuals who are responsible for managing the calendar and understand how its settings work.
Thoughtfully assigning permissions helps protect sensitive information, simplifies each user’s experience, and allows everyone to collaborate confidently within the same shared calendar.
Get started with a shared Teamup calendar
Taking the time to create a thoughtful setup from the beginning can make scheduling easier, improve collaboration, and give your team a flexible system that continues to work as your needs grow.
Ready to build a shared calendar for your work or organization? Create a free Teamup calendar or explore a live demo calendar to try different setups and features.
🔒 Essential Guides for Calendar Admins
- How to Set Up Your Calendar Securely
- What You Need to Know About Administrator Access
- Share a Calendar Securely with Customized Access Permissions
- When and How to Safely Use Shareable Calendar Links
- Organize and Color-Code with Sub-Calendars
- Build an Organized but Flexible Calendar Structure
- ▶️ Access and Adjust Calendar Settings
- ▶️ Create and Organize Sub-Calendars
- ▶️ Add a Calendar User