
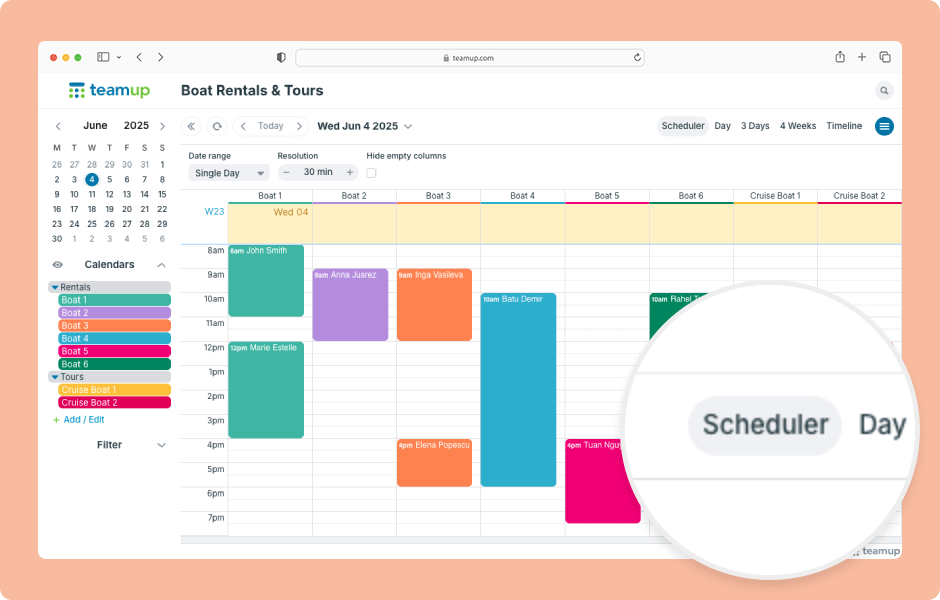
Teamup has 12 unique calendar views, suitable for different planning and scheduling needs. When you open Teamup in a browser, it will open with the default calendar view. Choosing the most appropriate default calendar view makes your calendar more user-friendly by helping people see what is important right away and work more efficiently.


Only the calendar administrator can access settings and set the default calendar view.

  1. Open Teamup in a browser.
  2. Go to Settings > Calendar Views.
  3. In the Default View section, click the arrow to open the menu.
  4. Select the view you want as the default view.
  5. Scroll to that view’s configuration section and adjust any options as needed.
  6. In the Calendar Resolution section, set the increment for the time grid.
  7. Choose whether or not to Hide Weekends by checking Yes or No.
  8. Enable, disable, or configure other calendar views as needed.

ℹ️ Learn more
July Monthly Roundup: Keep information in context, delegate efficiently, and more

July Monthly Roundup: Keep information in context, delegate efficiently, and more

July monthly roundup: how to add images and attach files to events to keep everything in context + share visual schedules. Plus, get insights on how to delegate more efficiently, enable self-managed availability, and manage simple hourly tracking. Download free printable calendars for the upcoming month and quarter to stay organized for the weeks ahead. 

How to Access a Teamup Calendar

How to Access a Teamup Calendar

Learn how to access a Teamup calendar on any browser or in the Teamup app. It’s secure and convenient with quick login to your user account, where all your calendars are accessible via a dashboard. Shareable calendar links don’t require a login but can also be added to your dashboard for easy access.

WordPress Cookie Notice by Real Cookie Banner