In Teamup, you can create custom event fields to capture structured information for your events. One type of custom field is choice field, which lets you select from predefined options.
Choice fields can be set up as single-choice or multiple-choice and are configured in the calendar settings.
Access level required: Administrator
- Open your Teamup calendar in a browser.
- Click the blue menu (top right).
- Select Settings.
- Open the Event Fields tab.
- Click New Field (top right).
- Enter a name for the custom field.
- Select Choices from the Type menu:
- Select Single-choice or Multiple-choice
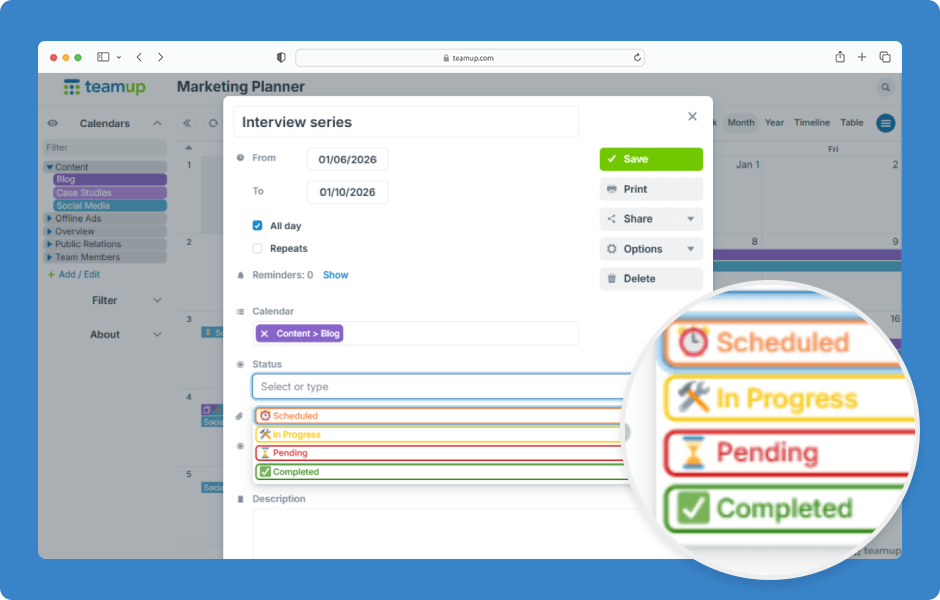
- Create the options for the choice field. For each option, type in a name, set the color, and (optionally) assign an emoji.
- Make the field required or optional by selecting Yes or No in the Required section.
- Choose what shows in the event title: The option name, assigned emoji, or none.
- In the Visibility section, select the option you want (All users or Users with modify permission) from the menu.
- Click Save.
- Click Back to calendar (top left) to return to the calendar view.
- You can now apply your custom choice field to your events.
ℹ️ Learn more