Teamup’s embedding tool makes it easy to embed a Teamup calendar in a website. Adjust the options for a customized look and feel.
- Open Teamup in a browser.
- Go to Settings > Sharing.
- Create a secure (read-only) link to use for the embedded calendar:
- Click Create Link.
- Give the link a specific name.
- Choose to include All calendars or Selected calendars.
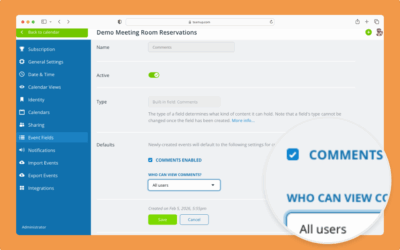
- Assign the appropriate permission (Read-only or Read-only, no details) for included calendars.
- Save the link.
- Go to Settings > Integrations.
- Choose the secure link you just created.
- Click Continue to open the Embed Wizard.
- The Embed Wizard will open with the calendar pre-loaded.
- In the Appearance section, adjust options for the calendar size, header, date controls, and more.
- In the Date & Time section, set the time zone, week start day, and calendar start date.
- In the Calendar Views section, choose the default calendar view and other view settings.
- In the Other Settings section, set the language and event display as needed.
- When you’re ready, click the blue Embed button.
- You can get the iFrame code or the customized embedding URL. Click to copy either one, then click Done.
- If you make other changes, be sure to generate and copy the updated iFrame code or URL.
- Paste the iFrame code or URL into your website’s HTML editor where you want the embedded calendar.
ℹ️ Learn more