These tips can help you work more efficiently with Teamup, using fewer keystrokes to create and update events.
- Create all-day or multi-day events:
- Switch to Month or Multi-week view.
- Click on a date to create an all-day event.
- Click and drag over dates to create a multi-day event
- Create time-specific events:
- Switch to a grid view like Day or Week.
- Click and drag over the time grid to create an event.
- Change the calendar resolution to create shorter or longer events more easily. For example, set the resolution to smaller increments to create shorter events.
- Click and drag the bottom edge of an event to adjust the duration.
- You can also click and drag to move an event to a different time.
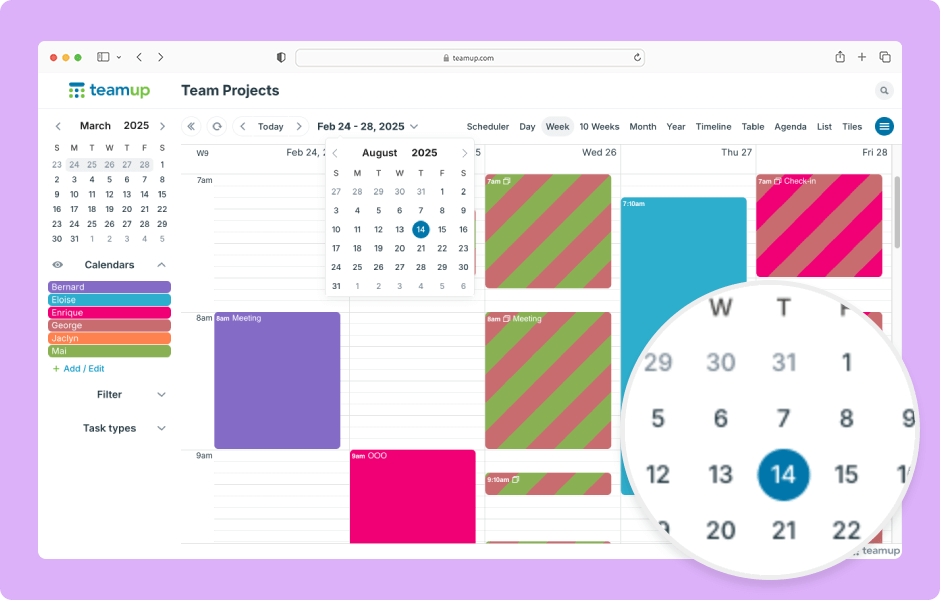
- Use the date pickers to jump to another date.
- Open the control panel to use the date picker at the top, OR
- Click the arrow by the dates to open the pop-up date picker.
- Click any date to jump to it.
- Scroll with your mouse or trackpad to move quickly across months.
- In List or Agenda view, use the date picker to prefill the date when you create an event.
- In the date picker, click the event date.
- Then click the green + button.
- The event editor will open with the selected date prefilled.
- In the event editor, quickly change or add calendar data:
- Click into the time fields to adjust event time to the minute.
- Type or use arrows then press Enter to select field options.
- Tab to move between fields.
- Enter to add new lines or save the event.
- Escape to exit the event editor without saving.
ℹ️ Learn more


