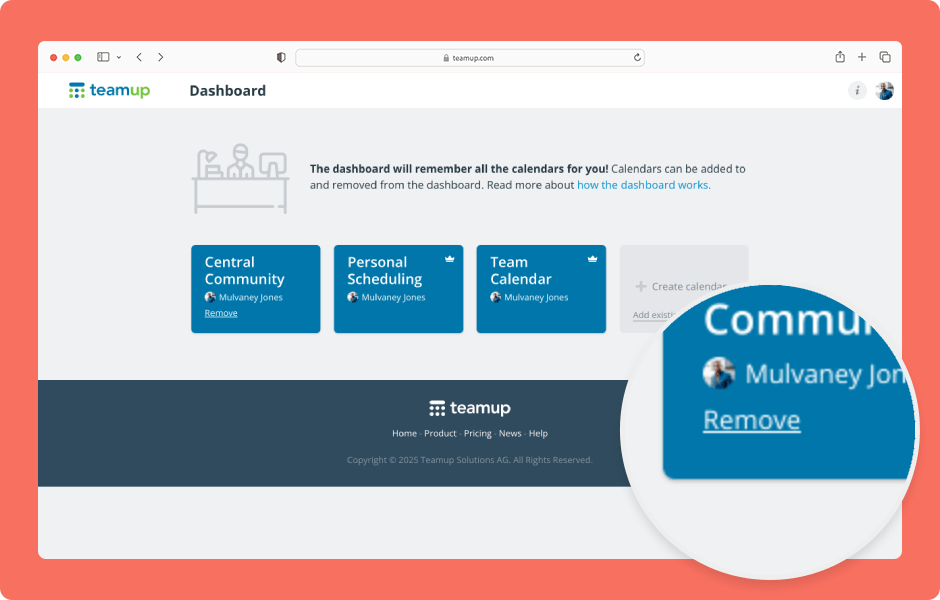
Your user dashboard contains all the calendars you created or were added to as a user. You can also add calendar links to your dashboard. When you no longer want a particular calendar on your dashboard, you can remove it. See also how to remove a calendar from your dashboard in the Teamup app.
Access level required: All users
- Open Teamup in a browser. Make sure you are logged in.
- Click your avatar, then click Dashboard.
- Hover over the calendar tile you want to remove.
- Click Remove.
- On the next screen, click Remove to confirm your choice.
The calendar will be removed from your dashboard.
If you have account-based access to a calendar, you’ll need to enter your password to remove it from your dashboard.
- Go to your dashboard (steps 1-2 above).
- Hover over the calendar tile, then click Remove.
- Enter your account password.
- Click Remove.
You will be removed as a user from that calendar and the calendar will be removed from your dashboard.
🛠️ Troubleshooting: Error message when trying to remove a calendar
ℹ️ Learn more
Note: Removing a calendar from your dashboard only affects your access to the calendar. The calendar will still exist with the same subscription and accessibility for other users. See how to change a calendar’s subscription, how to remove users, how to delete an entire calendar, and how to erase your personal data.


