Turn any event on your Teamup calendar into a standalone, read-only web page. If you update the event in Teamup, the event page automatically shows the latest changes.
Benefits of event pages
Event pages are a secure, easy way to share and promote events:
- Secure sharing: Only the specific event’s details are shared—not your entire calendar. That makes it safe to share an event publicly or with selected contacts without exposing other entries
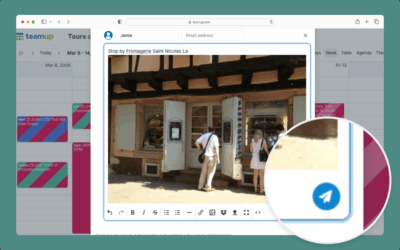
- Easy event promotion: Turn any event on a Teamup calendar into a mini “flyer” complete with images, descriptions, attachments, maps, and links. Promote community gatherings, workshops, special deals, or digital content—all from a tidy, dynamic page, all without needing to create another document.
- Automatic updates: Since the event page is just displaying the content of the original calendar event, any new edits—like time changes, added details, or updated attachments— are available on the shared event page upon a fresh open or reload of the page. No need to edit in multiple-step processes from editing a web page to republishing in PDF or sending multiple emails to inform people about updates.
- Get event signups and gather attendee feedback all in the same event context: You can enable Event Signup (with options for deadlines and attendee limits) and Event Comments to collect questions and have discussions before, during, and after an event. These tools appear right on the event page itself and stay within the event context.
Ways to use event pages
- Community event flyers
- Sales or special promotions
- Printable job sheets
- Customer information profiles
- Project briefings
- Meeting agendas
- Travel plans and journal
Create and share an event page
- Open the event you want to share.
- Click Share.
- Select As page.
- The event page will open in a new browser tab.
- Use the sharing options at the top to share the event page on social media, in an email, or to another calendar.
- Or copy and share the event page link directly:
- Highlight and copy the event page link from your browser’s URL bar.
- Or right-click on the event page to open a context menu, then select Copy Page Address. (Your browser’s menu may be slightly different.)
- Once you’ve copied the event page link, paste it wherever you want to share it: social media, email, text message, website, so on.
- You can also print the event page or save it as a PDF. Click CTRL+P or CMD+P to open your browser’s print dialog.
The event page will update automatically if you make any changes to the event. You can also create and share event pages from the Teamup app.
ℹ️ Learn more