Sub-calendars are individual calendars that are contained within your master calendar. You can create and organize multiple sub-calendars. The calendar administrator can create multiple sub-calendars, and organize them in folders.
Access level required: Administrator
- Open Teamup in a browser.
- Under the Calendars list (left side), click the Add/Edit link.
- The Calendars section of settings is where you can view, create, and manage all sub-calendars.
- To create a new calendar, click the blue New button.
- Select Add Calendar.
- Type in the name you want for the new calendar.
- Click the colored dot to open up the color picker.
- Click a color to assign it to the calendar.
- Click Overlapping Events to change whether overlapping events are allowed or disallowed for this sub-calendar.
- Click Save.
- To edit a calendar, click the calendar name. Or click the pencil icon on the right.
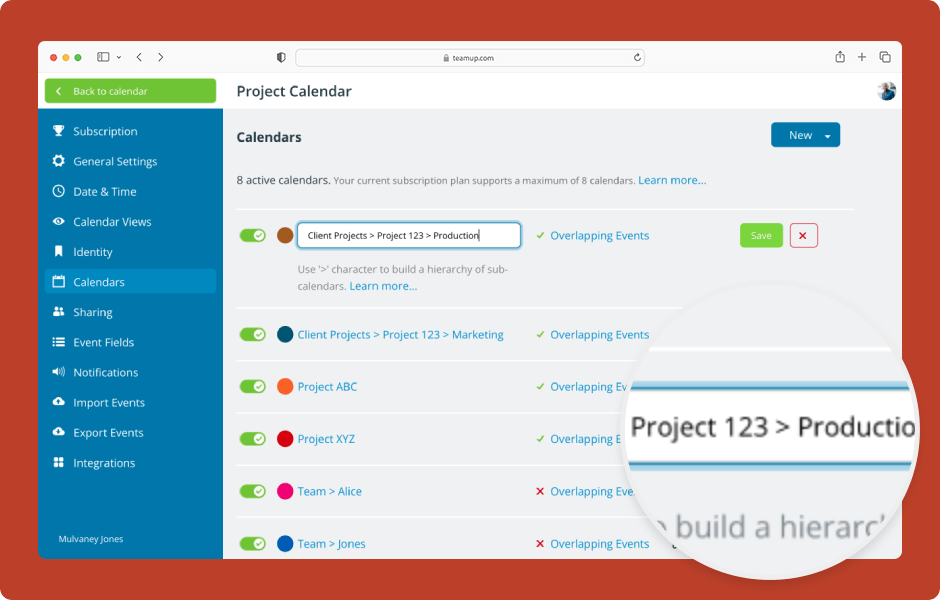
- Use > to organize calendars inside a folder: Folder name > Calendar name.
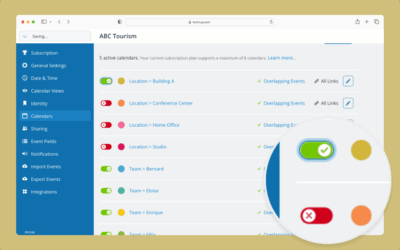
- Switch off Allow Overlapping Events (turn the toggle to red/x) to automatically prevent double-booking on this calendar.
- Click Save.
- To organize multiple calendars in the same folder, put the same folder name in front of the calendar names.
- To create nesting folders, add additional Folder name > levels before the calendar name.
▶️ See an interactive demo for working with folders.
ℹ️ Learn more


