
Getting Started with Teamup
Trusted by over 5 million users, Teamup helps businesses organize schedules, resources and teams for efficient operations at any scale. Effortless to share on any device, platform, or across organizations.
Take a Quick Tour
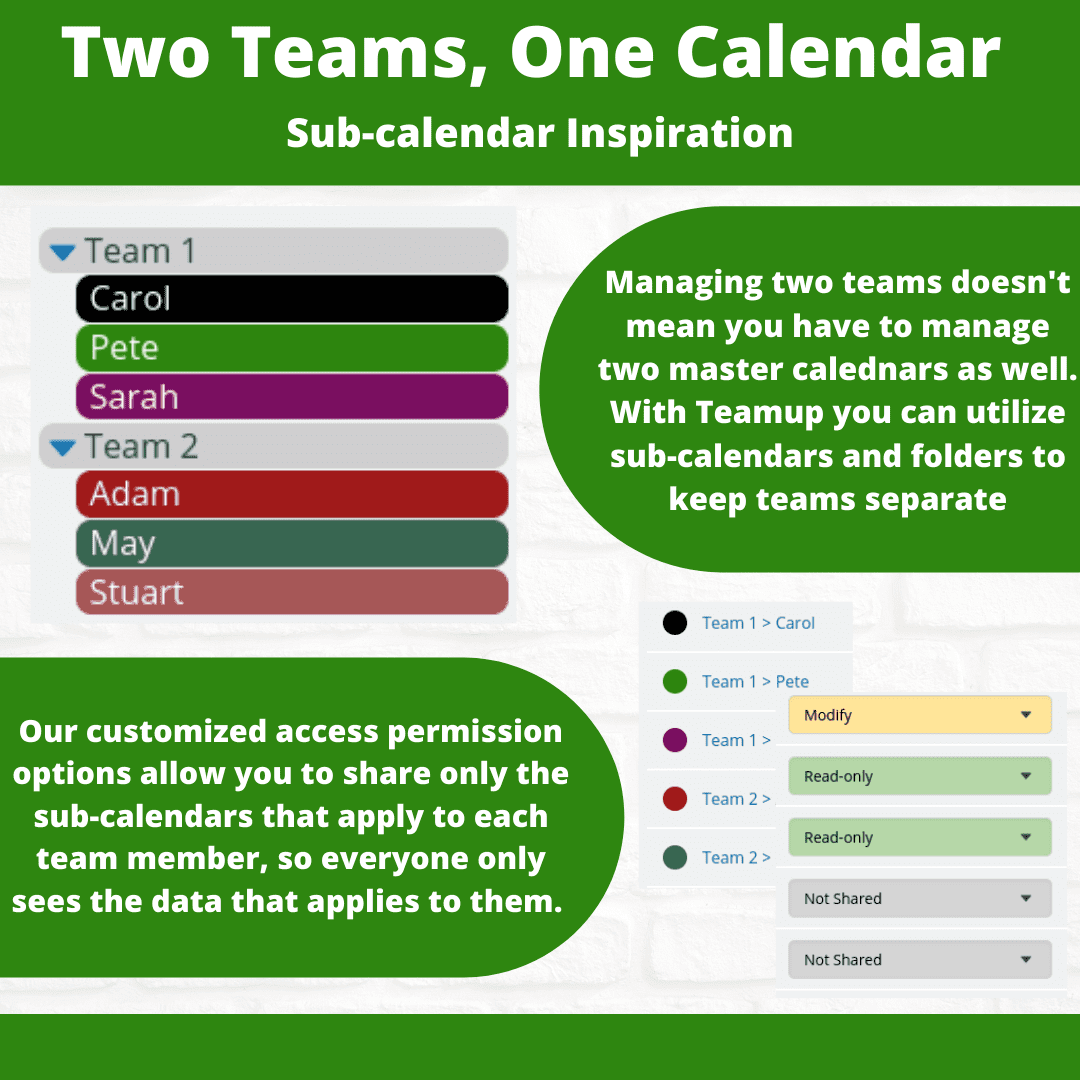
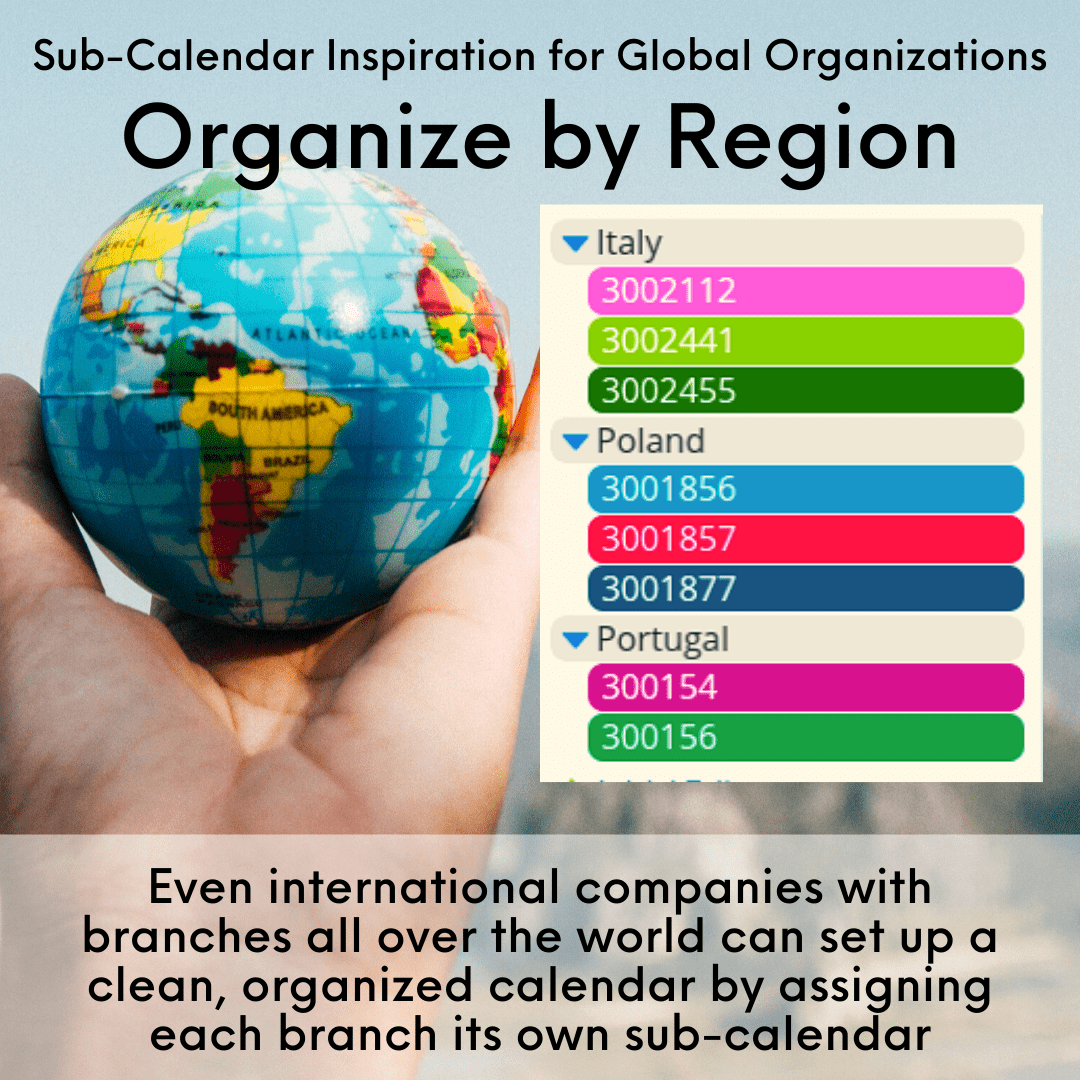
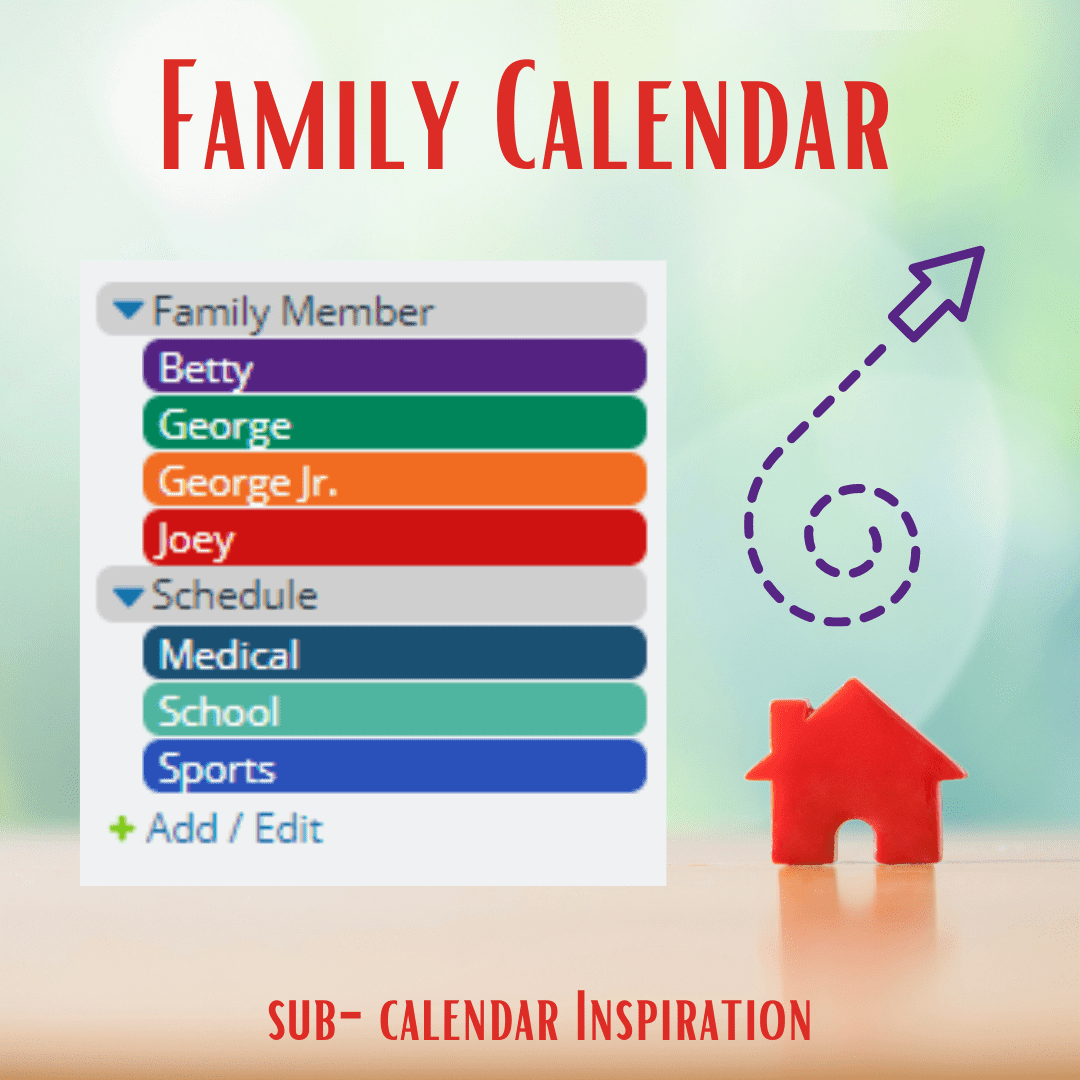
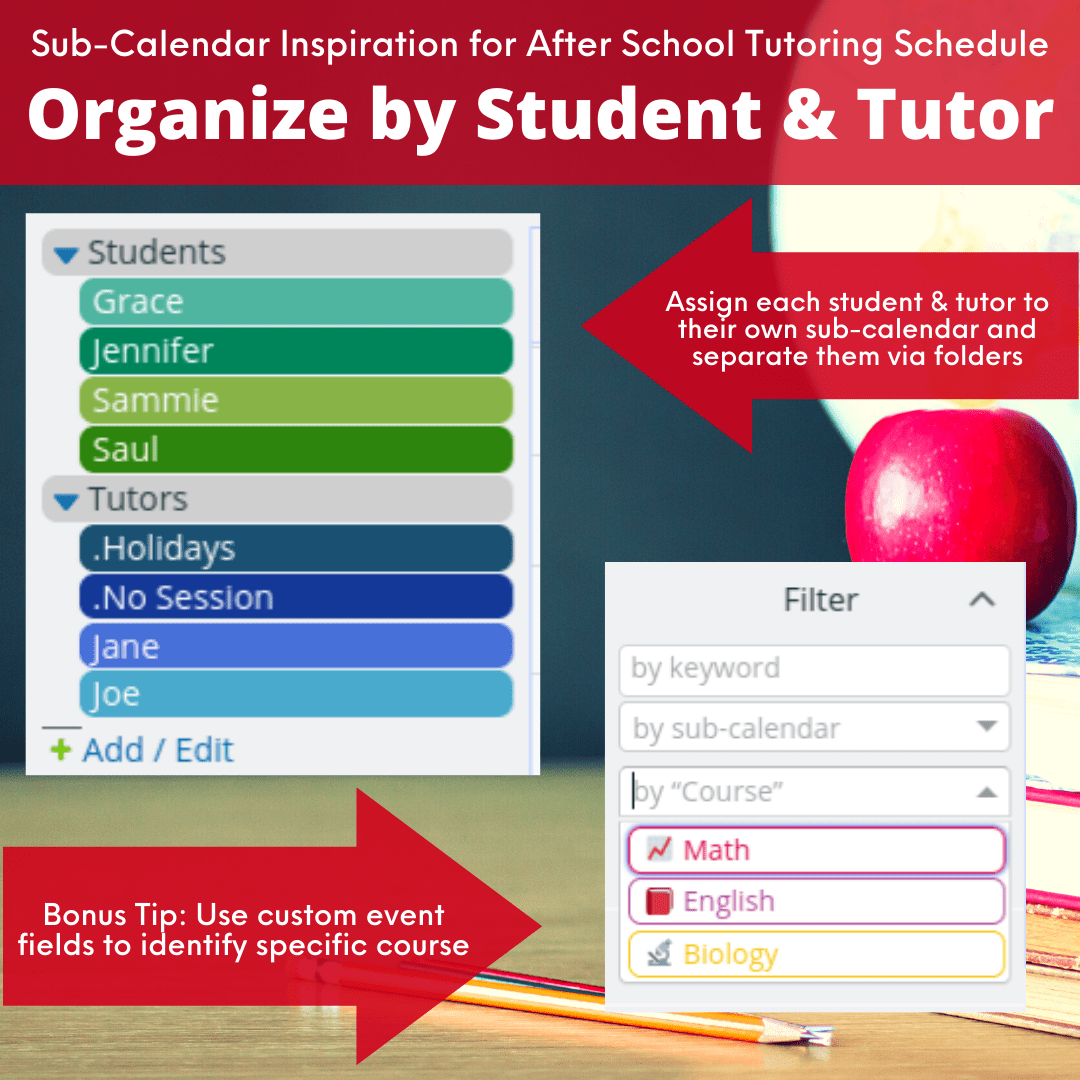
- Color-coded sub-calendars: Organize in folders, scale as needed.
- 12 calendar views: Go beyond the ordinary calendar grid.
- Customized access: Configure each user with granular permission levels.
- Custom event fields: Capture and manage information efficiently.
- Event filters: Sort by keywords, sub-calendars, custom fields, or any combination.
- Features that make work easier: Adjustable calendar resolution, notifications, iCalendar feeds, sophisticated time zone support, branding, and much more.
Create a New Calendar
- Click the green button below to get started.
- Fill out the form and click Create.
- Your new Teamup master calendar will open.
Not sure yet? Try a live demo to explore all the features.
Setting Up Sub-Calendars
Setting up sub-calendars according to your needs is like a blueprint needs to be designed for the purpose of the building. Consider adding sub-calendars for the most distinctive aspect of who/what/where of events when the benefits associated with sub-calendars are important to you. For example, if it is important to prevent double-booking of a room, you’d need a sub-calendar for the room since disallowing double-booking is only applicable to individual sub-calendars.
How to add sub-calendars
- Go to Settings > Calendars
Alternatively, click Add/Edit below the sub-calendar list - Click New
Good to know
- You can create a new sub-calendar or add a Calendar feed from another calendar
- There are 48 colors available and reusable for the sub-calendars
Share Your Calendar with Users
Once you have the sub-calendars set up, you are ready to share the calendar with other users. Depending on what you want the users to do with the calendar, you may customize the access permission for each user or user group. There are 9 levels of access permissions, from read-only, add only to modify one’s own events but not changing events created by others, and from no access at all to events on selected sub-calendars to full rights to modify or administer the calendar.
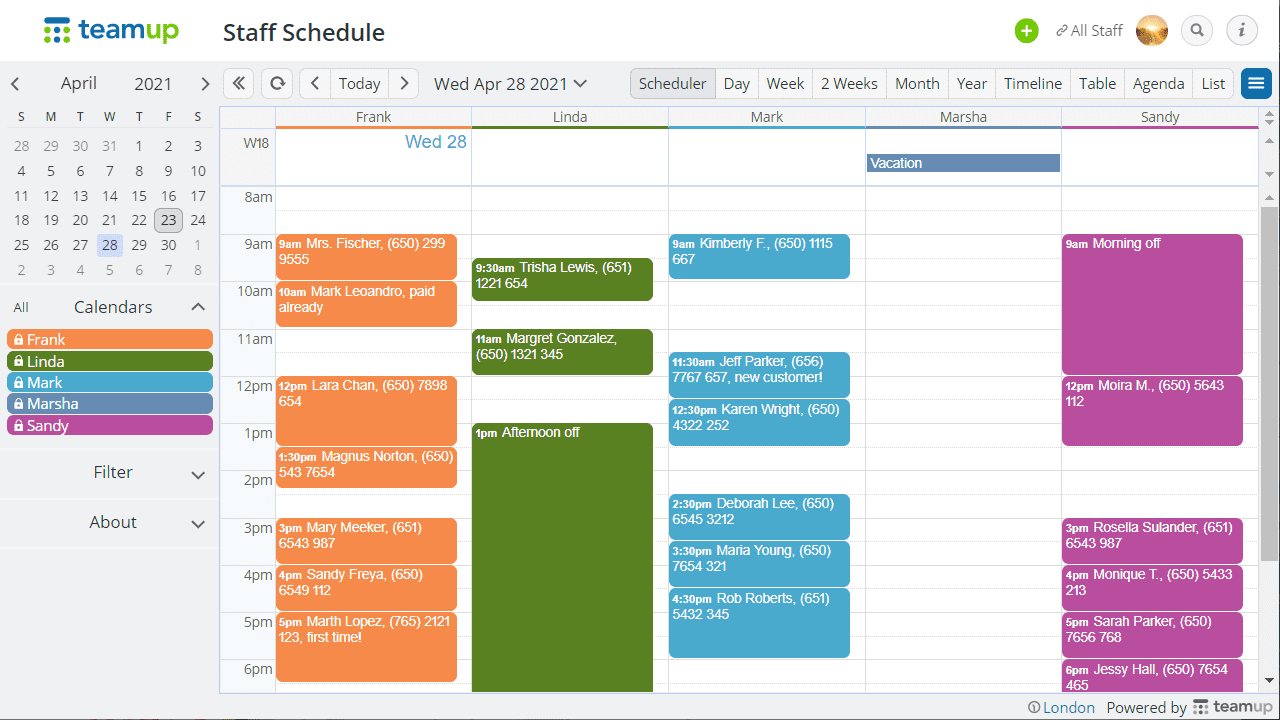
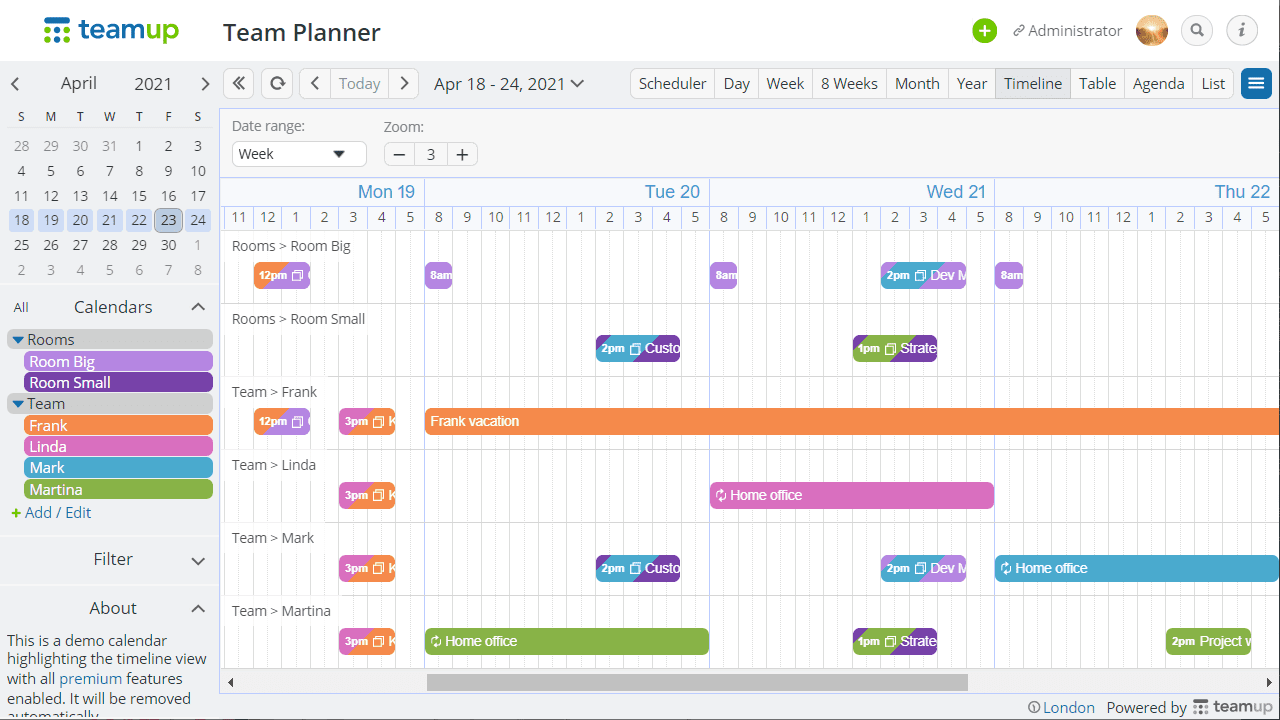
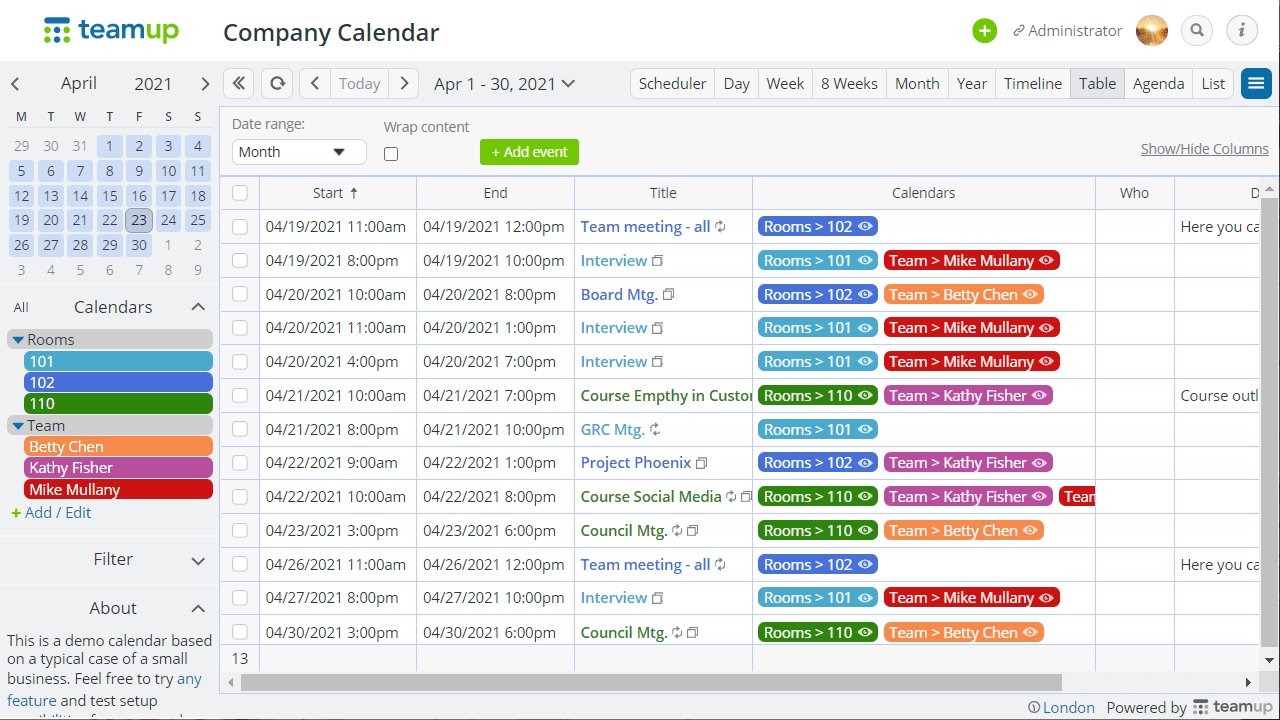
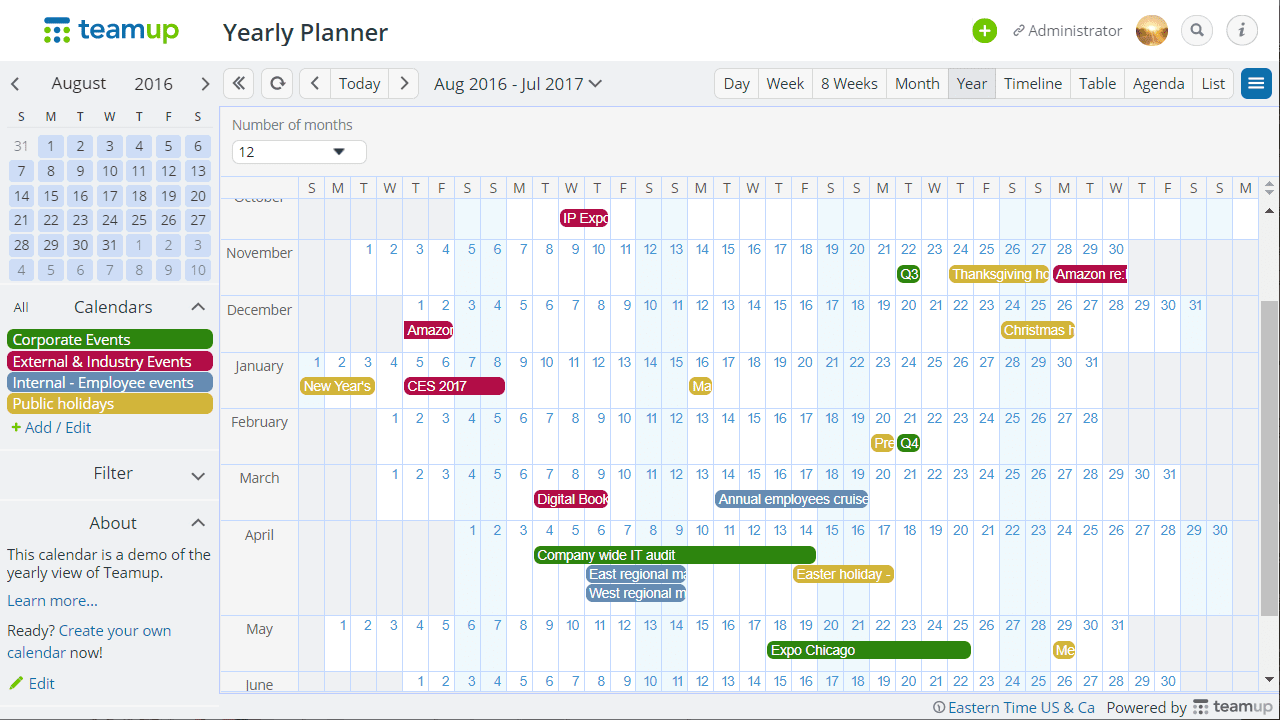
Demonstrated below are calendar views seen by four different users:
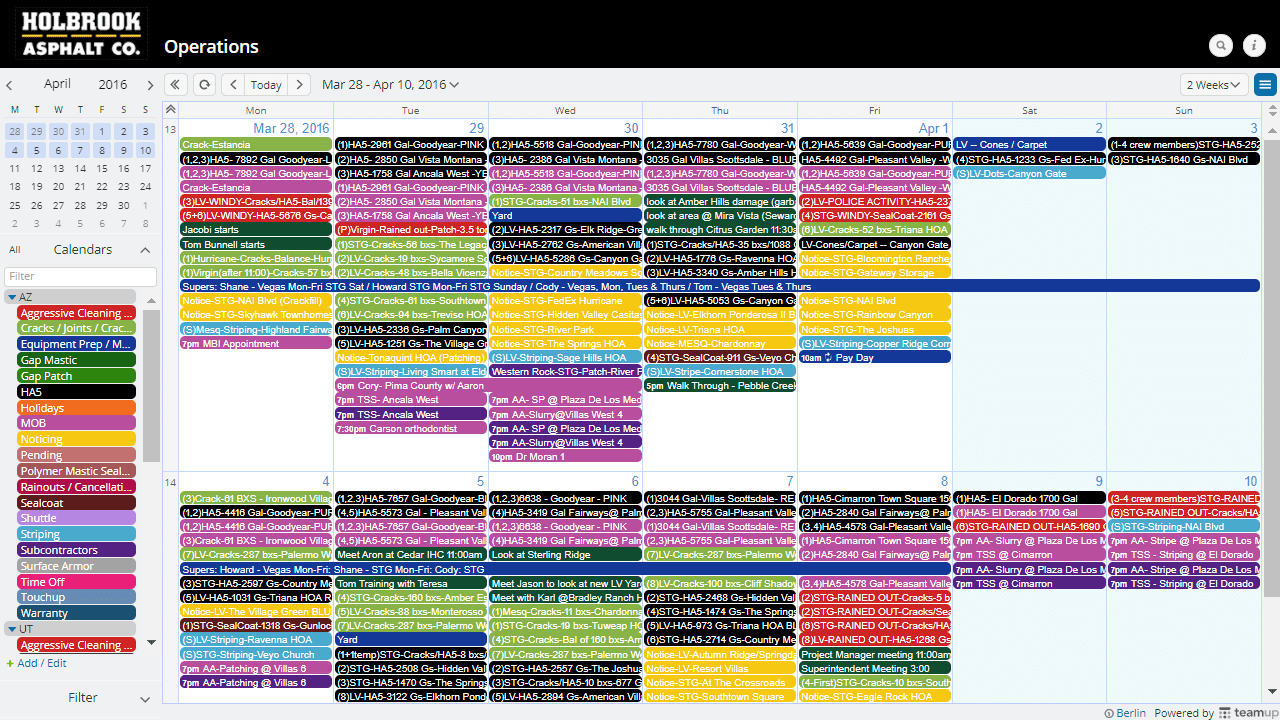
Administrator Access, full rights, limit to few
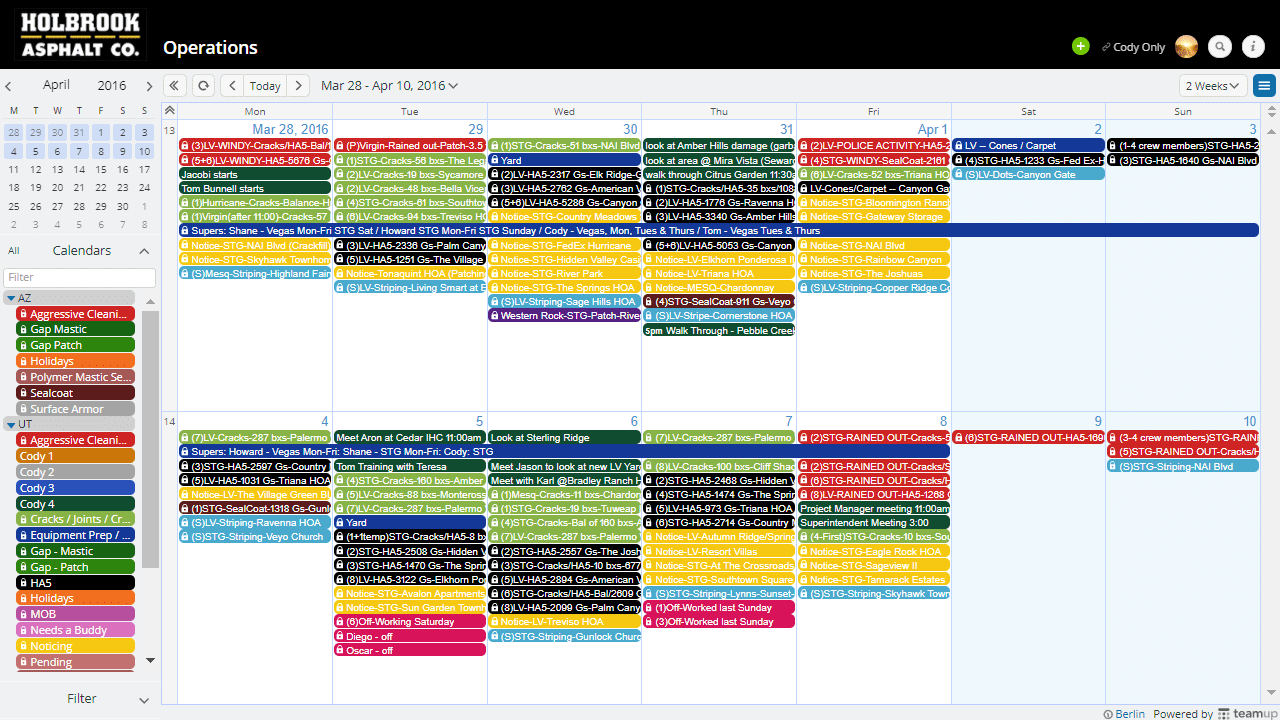
Modify Access for coordinators, team leads
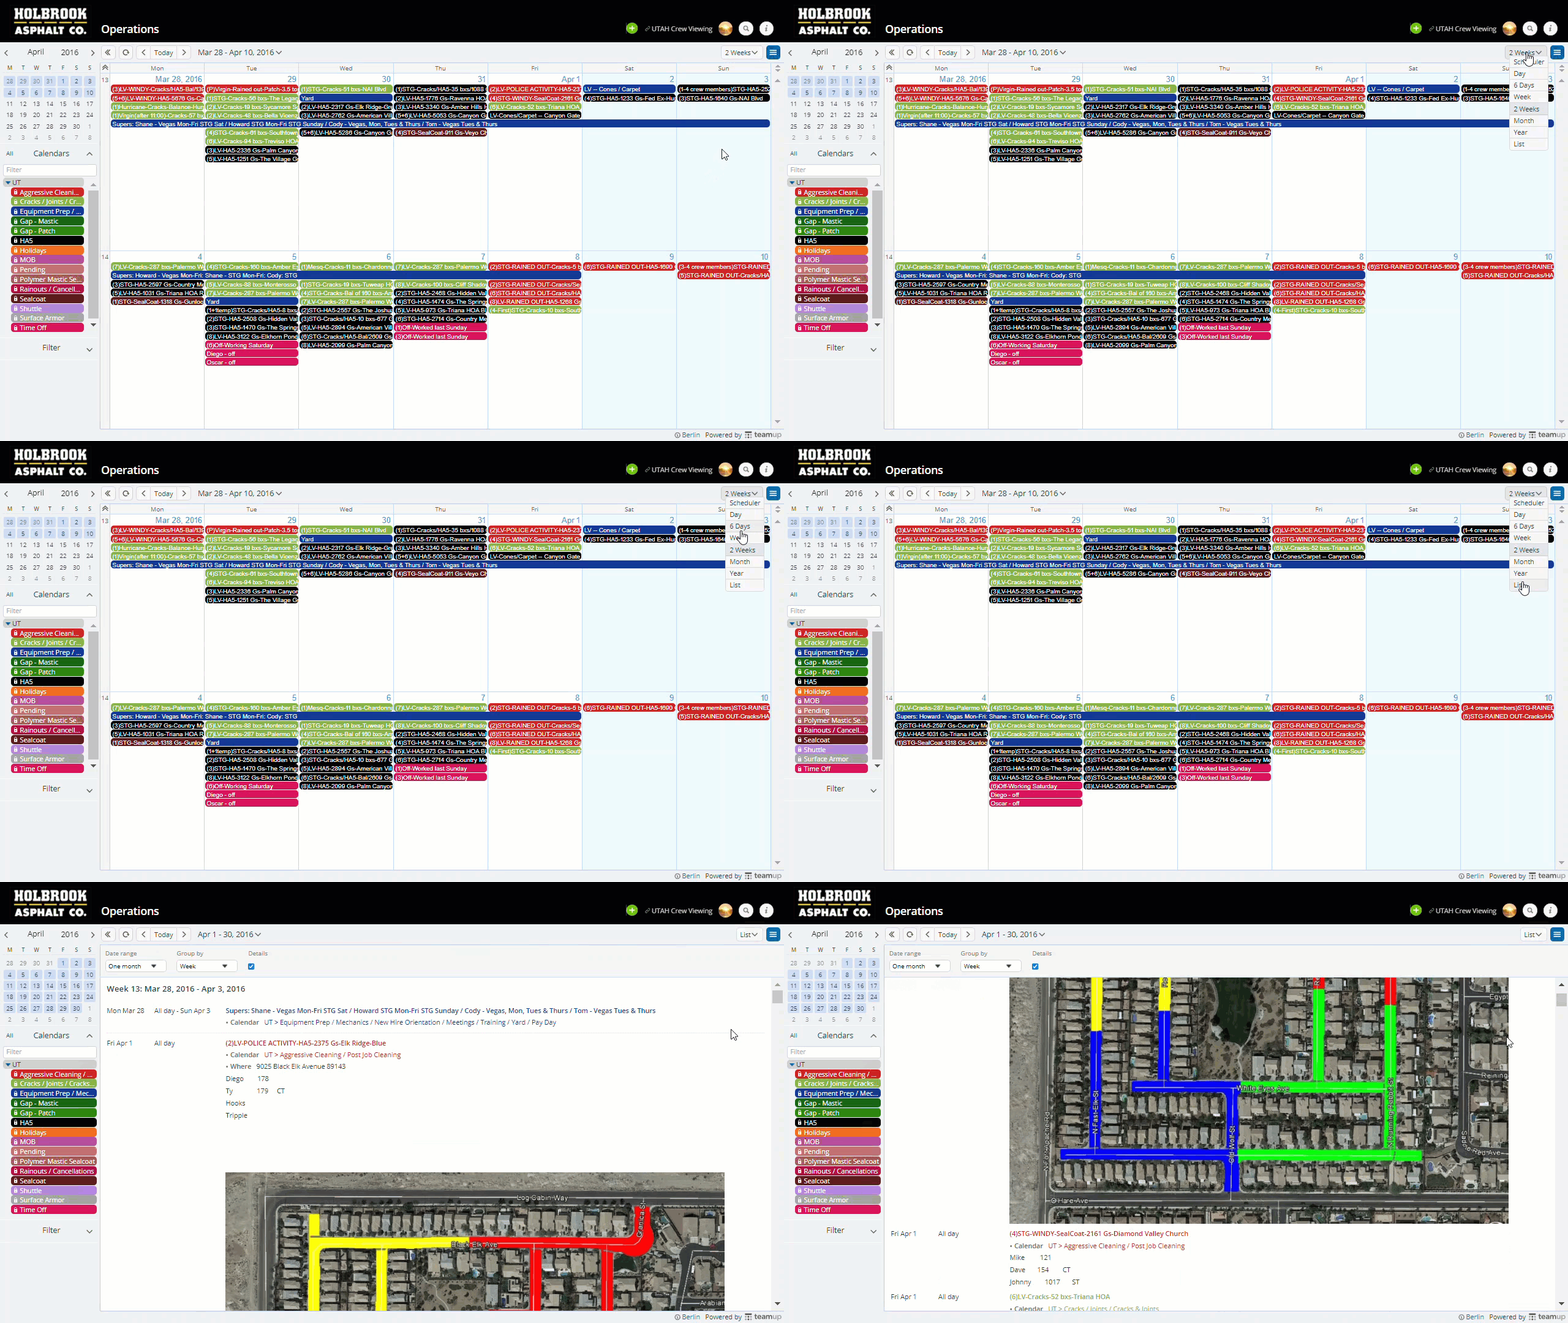
Read-only access for crews, with job details
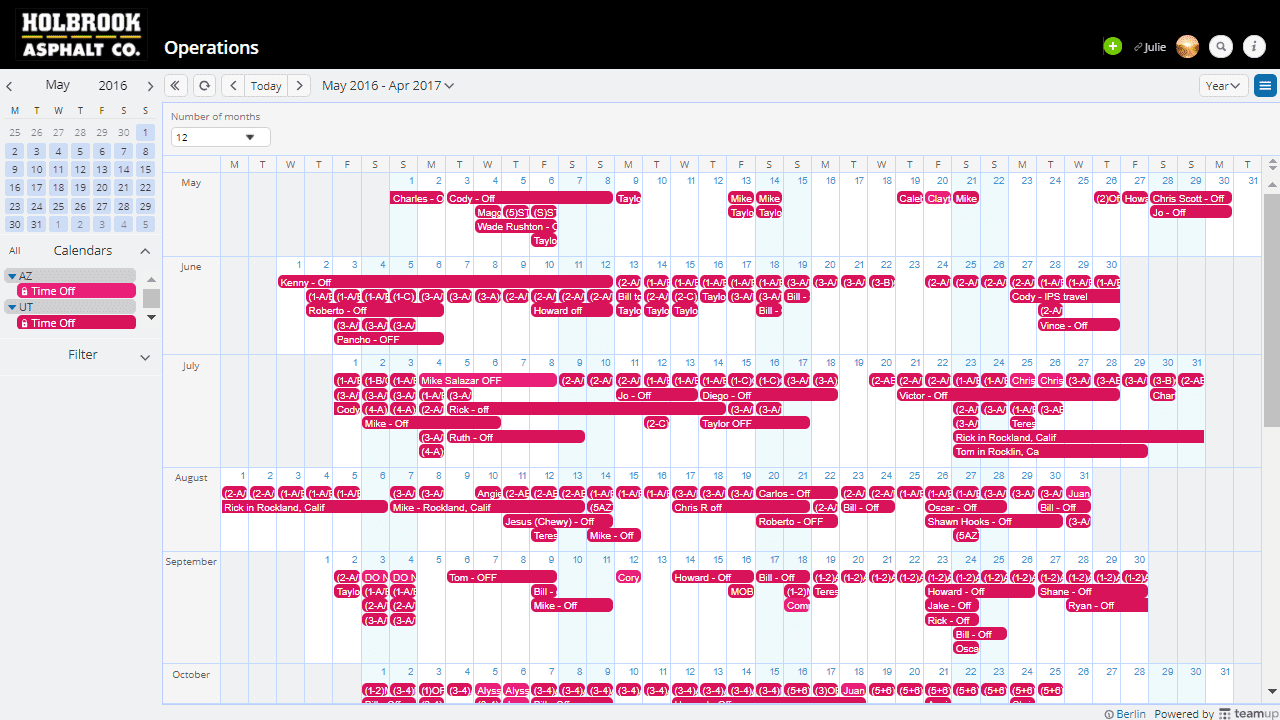
Limited overview of staff time off for HR team
How to share calendar
- Go to Settings > Sharing
- Add User or Create Link.
Good to know
- Adding account-based users requires the user to create a Teamup user account and benefit from the account dashboard. Device and browser independent.
- Sharing via links: No user account is needed. The Calendar is simply accessible via the link.
How to use calendar views
- Go to Settings > Calendar Views
- Set the default view
- Enable or disable and configure the other views
Good to know
- If most of your events are bound to specific hours, choose a view from the week / multi-day / day / scheduler / timeline / agenda as the default view.
- Otherwise, use a long term view like the month / multi-week / year / table as the default views.
Learn more
TABLE OF CONTENTS