Getting Started Guide for Administrators
This guide will give calendar administrators an overview of the most important set up processes. You will learn about your role as a calendar administrator, how to set up your calendar, how to grant calendar access to others securely, and how to use important calendar features.
Contents
👑 Your role as a calendar administrator
🌟 First steps with your Teamup calendar
1: Access calendar settings 2: Create sub-calendars 3: Grant calendar access
⚙️ Configure your Teamup calendar
💎 General Settings ⏰ Date and Time 🖼️ Calendar Views 👥 Identity 📅 Calendars 👌 Sharing
🎫 Event fields 🔔 Notifications 📥 Import Events 📤 Export Events 🏆 Subscription
Your role as a calendar administrator
The calendar administrator is any authorized person who has administrator access to the calendar. The calendar administrator can access all calendar settings and has full control over the calendar.
- You may be the person who created the calendar.
- Or you may have been given administrator-level access to the calendar.
Learn more about administrator access→
First steps to set up your Teamup calendar
To get started with your Teamup calendar, think about what you want to schedule and how you want to organize information. Then you can begin to set up your calendar in a way that works best for your needs.
1: Access calendar settings
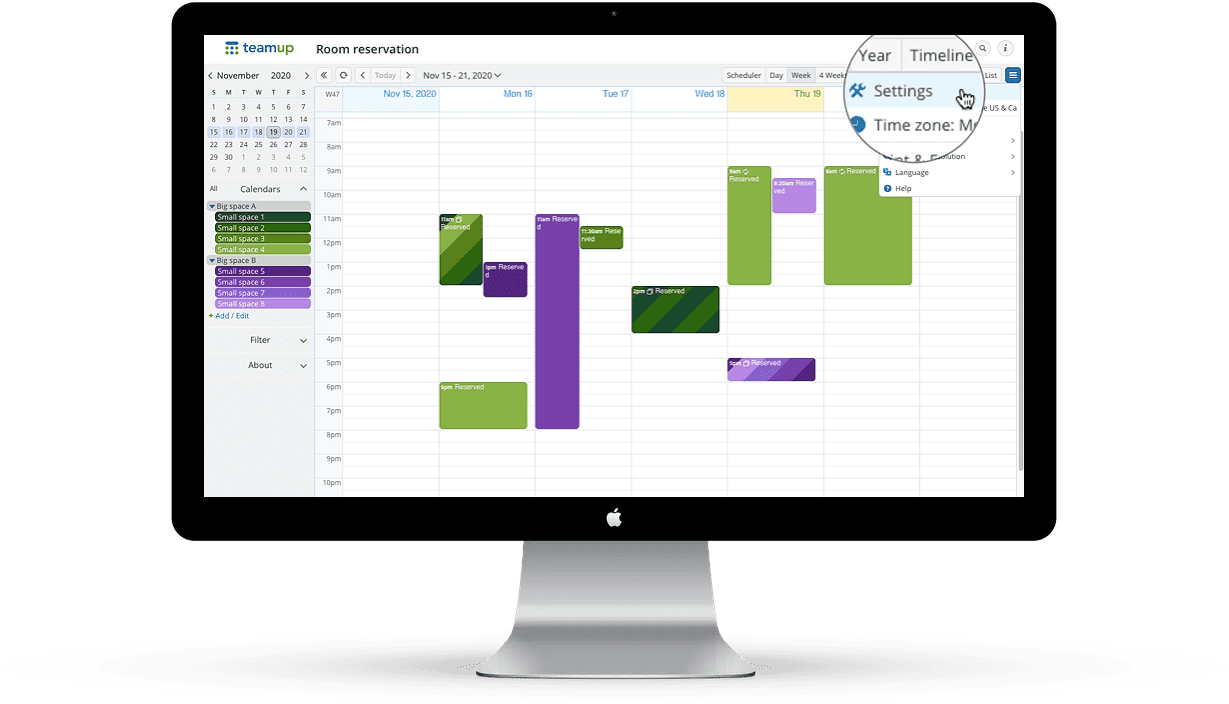
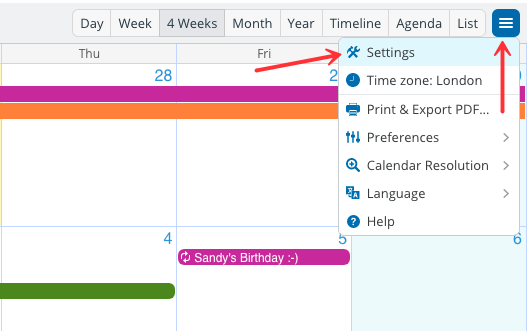
Access calendar settings from the blue menu in the top right of the calendar.
If you do not see Settings in the dropdown menu, you are accessing the calendar without administrator permission. Open the calendar with your user account (with administrator permission assigned) to access the settings.
Note: you can only access calendar settings in a browser. The full calendar settings are not available on Teamup mobile apps.
2: Create sub-calendars
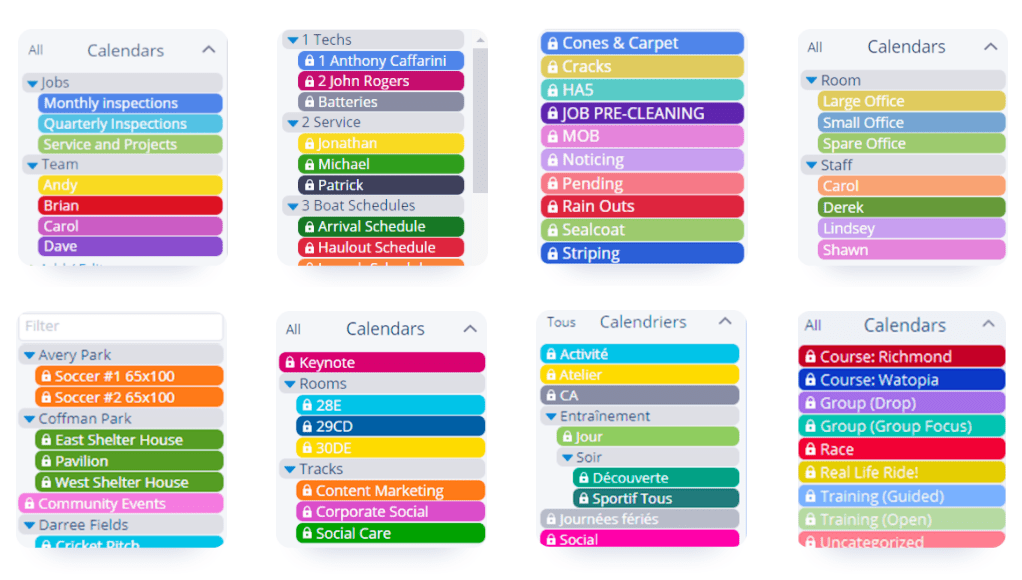
Sub-calendars can represent people, resources, projects, areas, or anything else you need to organize or schedule.
Better calendar setup makes all the difference in how well your calendar works for you. So choosing how to organize your calendar is a key decision. It’s directly related to how your calendar functions, which means calendar organization can make you more or less efficient when using the calendar.
3: Grant calendar access
Establishing who needs access to the calendar, and with what permission level is a key responsibility of the calendar administrator.
There are 9 levels of access permission, including the 8 shown on the left and the administrator level.
The advanced permission types are unique. A user may be allowed to only add events to the calendar but can’t change anything existing events. Or the user may be able to add or modify events they created themselves but not any events created by other users.
Learn more about How sharing calendar works with Teamup →
Customize default settings for your needs
In the calendar settings, there are several options and defaults you can configure for your needs.
General Settings
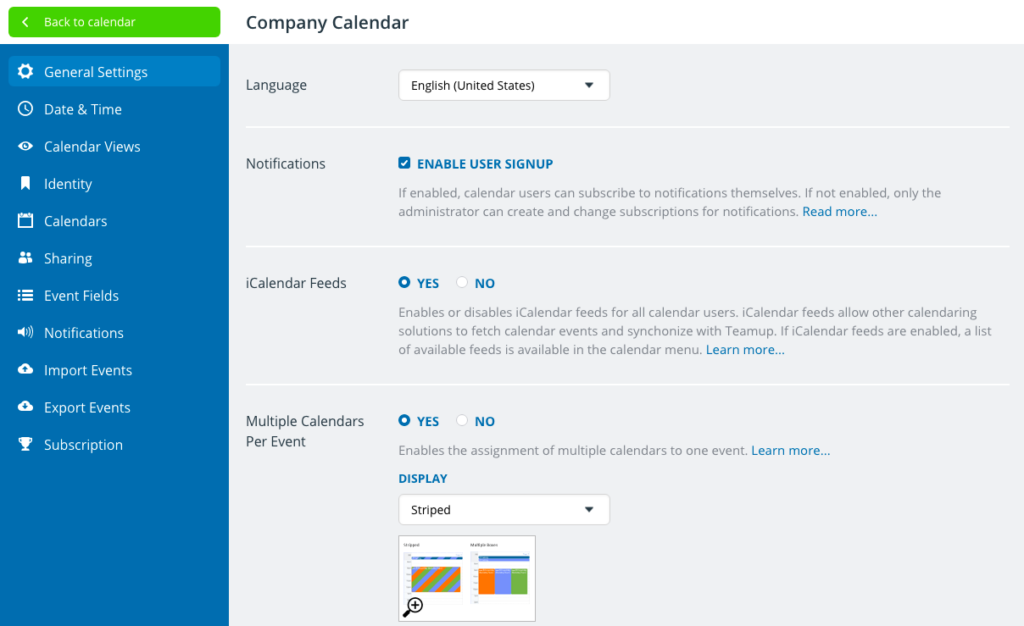
- Choose the default language for your calendar.
- Enable or disable user signup for email notifications.
- Enable or disable iCalendar feeds.
- Enable or disable assigning one event to multiple calendars.
- Enable, disable or change event sharing options.
- Showing or collapsing the sidebar and the date picker.
- Edit the About box for the calendar.
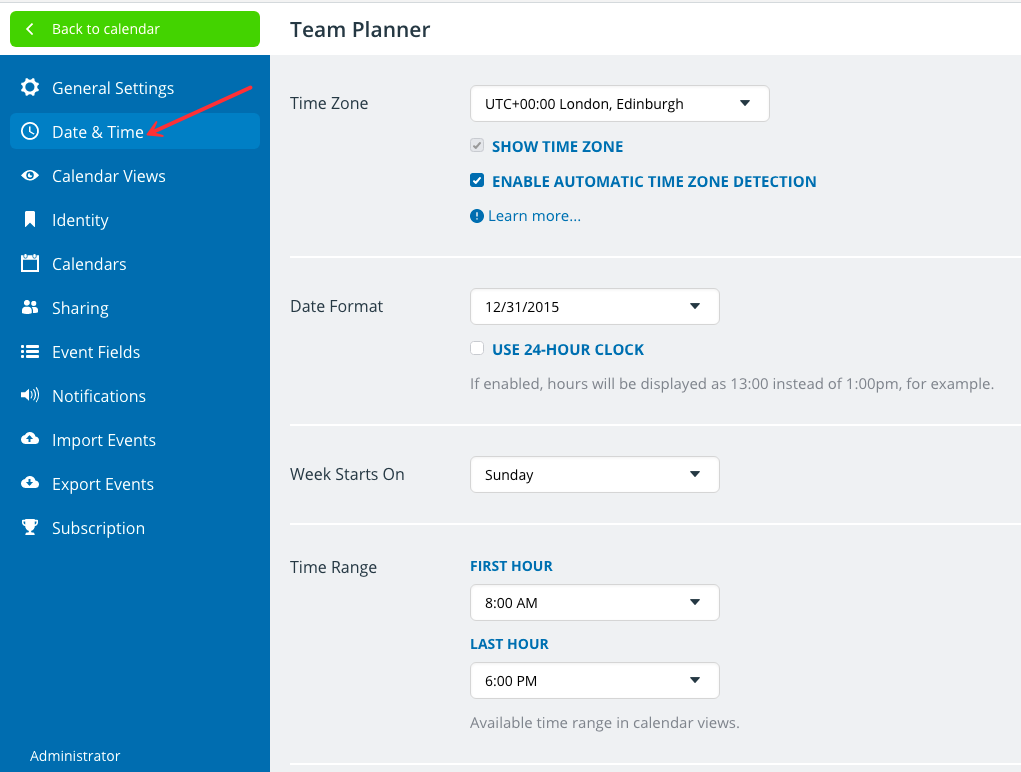
Date and Time
- Time zone conversions for 140+ time zones.
- Select the applicable date format for your primary user base.
- Select the default start day of the week.
- Select the visible time range when your calendar is displayed with a time grid.
- Configure the calendar to always open on a specific date, e.g. a conference date, rather than the current date.
Calendar Views
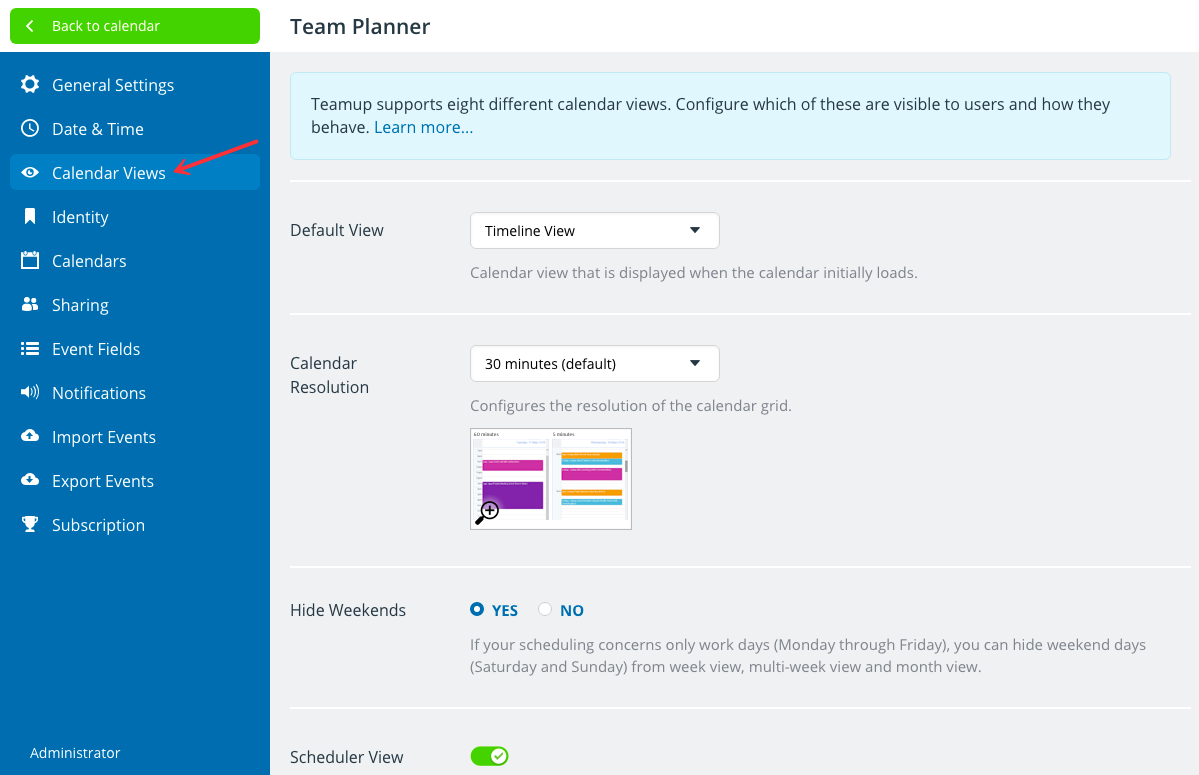
- There are 10 different calendar views currently available. Depending on the time frame you need to see your events, you can choose the short or long term views, from focusing on the daily schedule to seeing the big picture of a strategic plan through an entire year.
- Adjust the time resolution and choose to show or hide weekends.
- Toggle calendar views on and off; if toggled off, the view will no longer be available in the calendar interface.
Identity
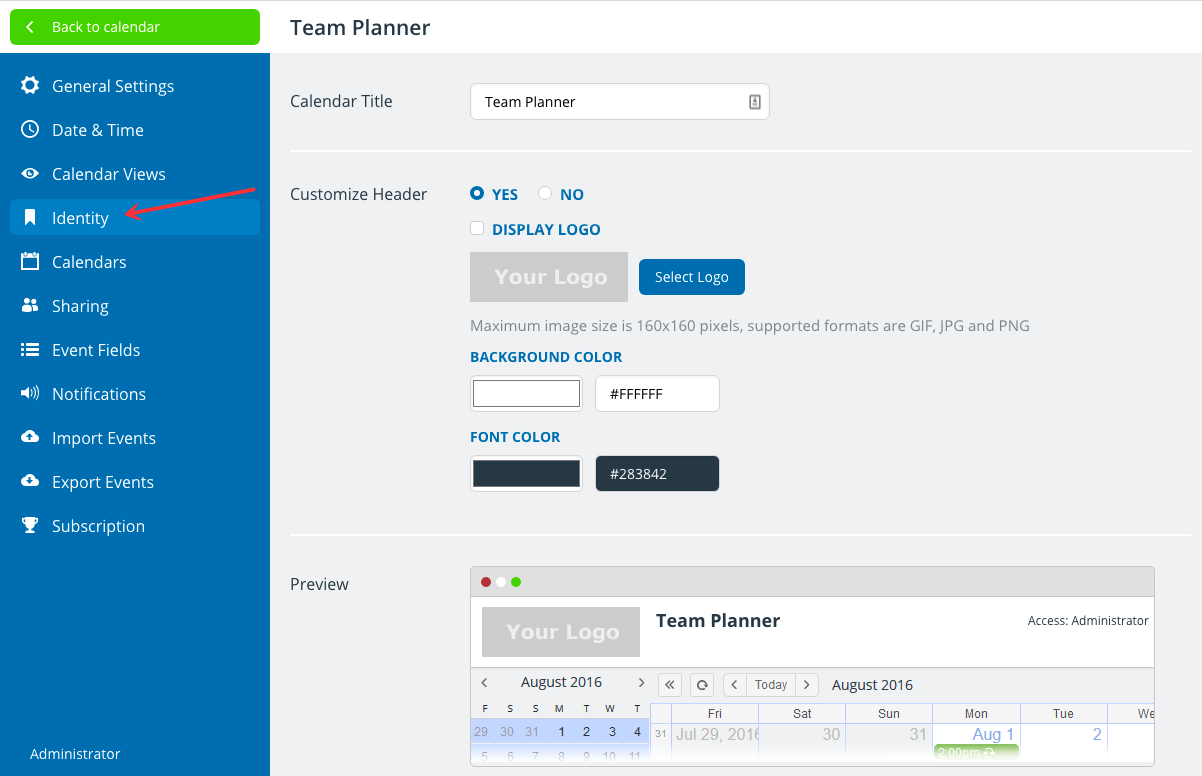
- Change the calendar title, if desired.
- Upload your own logo.
- Customize the header colors (background and font).
Calendars
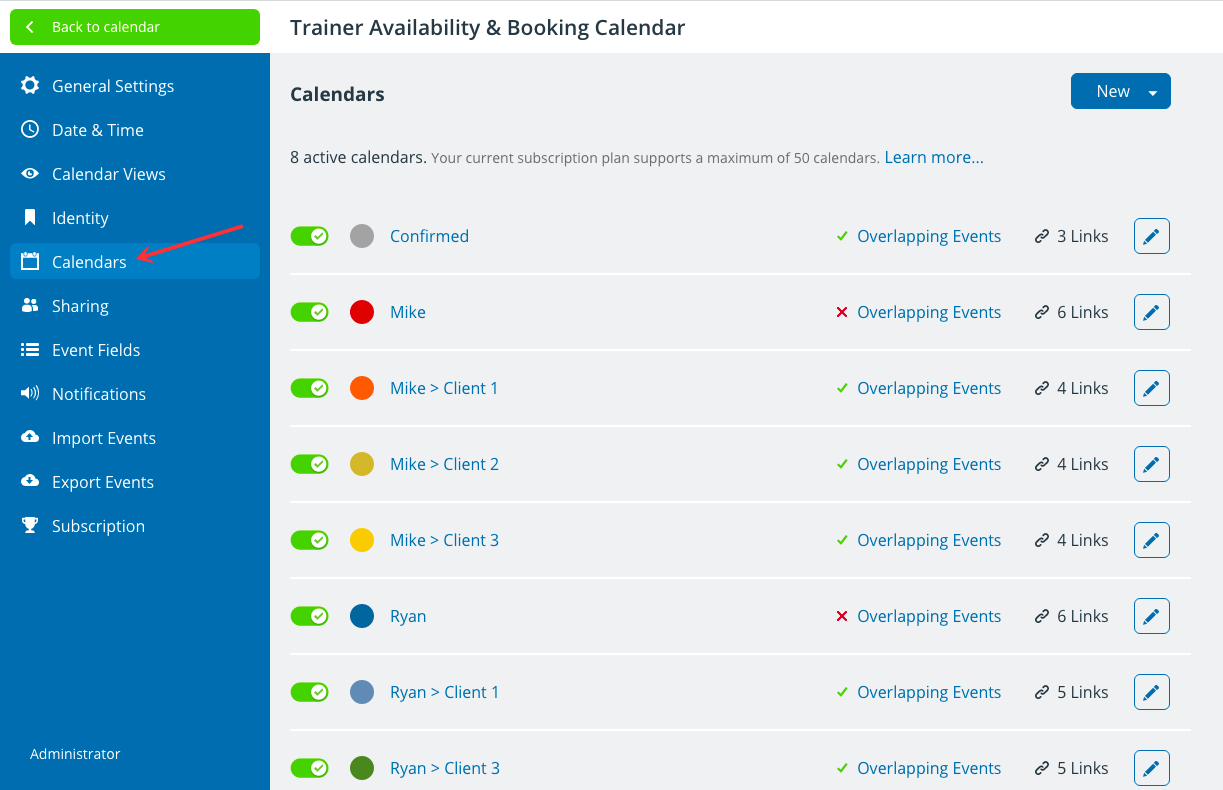
- Prevent double bookings by disallowing overlapping events.
- Group sub-calendars into folders for easy organization.
- The number of available sub-calendars is linked to your subscription plan. You can upgrade any time to use more sub-calendars.
Event Fields
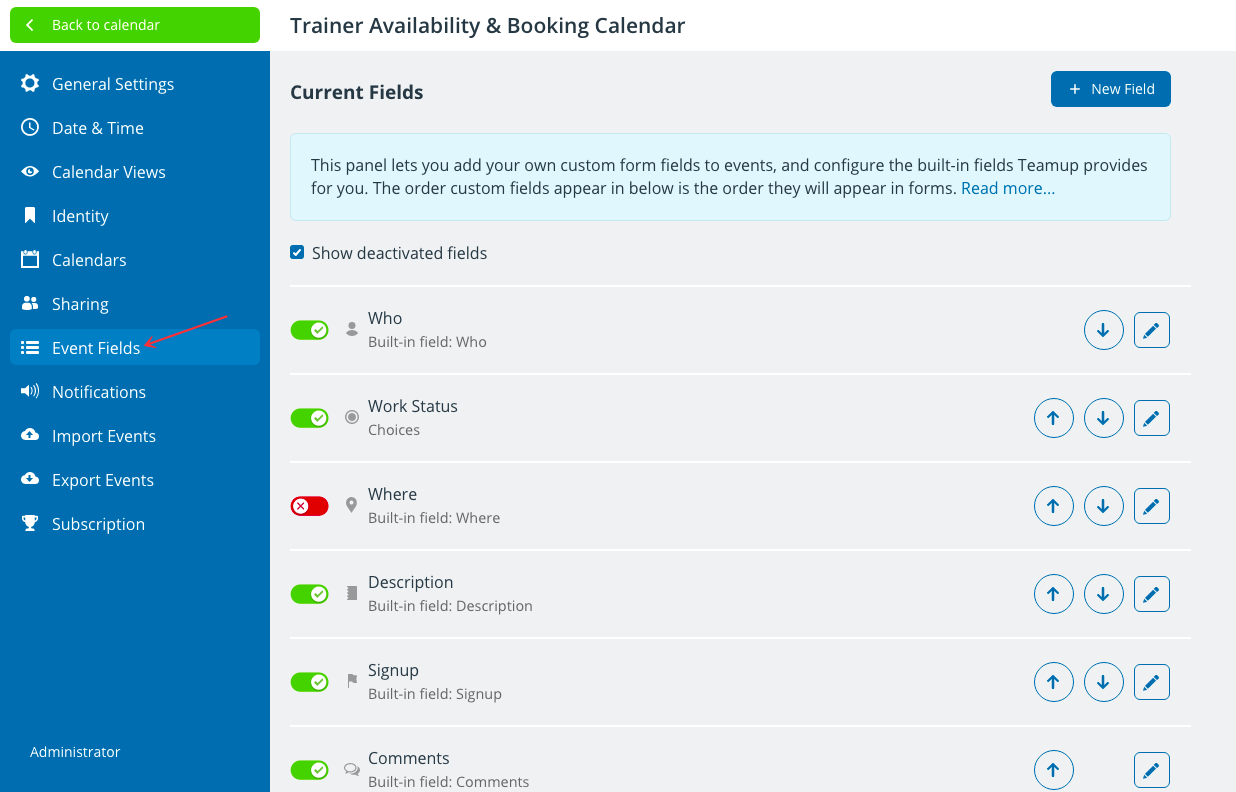
- Each Teamup calendar has default event fields, including Who, Where, Description, Signup, and Comments. Rearrange these default event fields and toggle them on or off.
- Custom event fields allow you to create your own unique event fields.
- The number of custom event fields you may have is linked to your subscription plan. You can upgrade any time to add more custom event fields.
Notifications
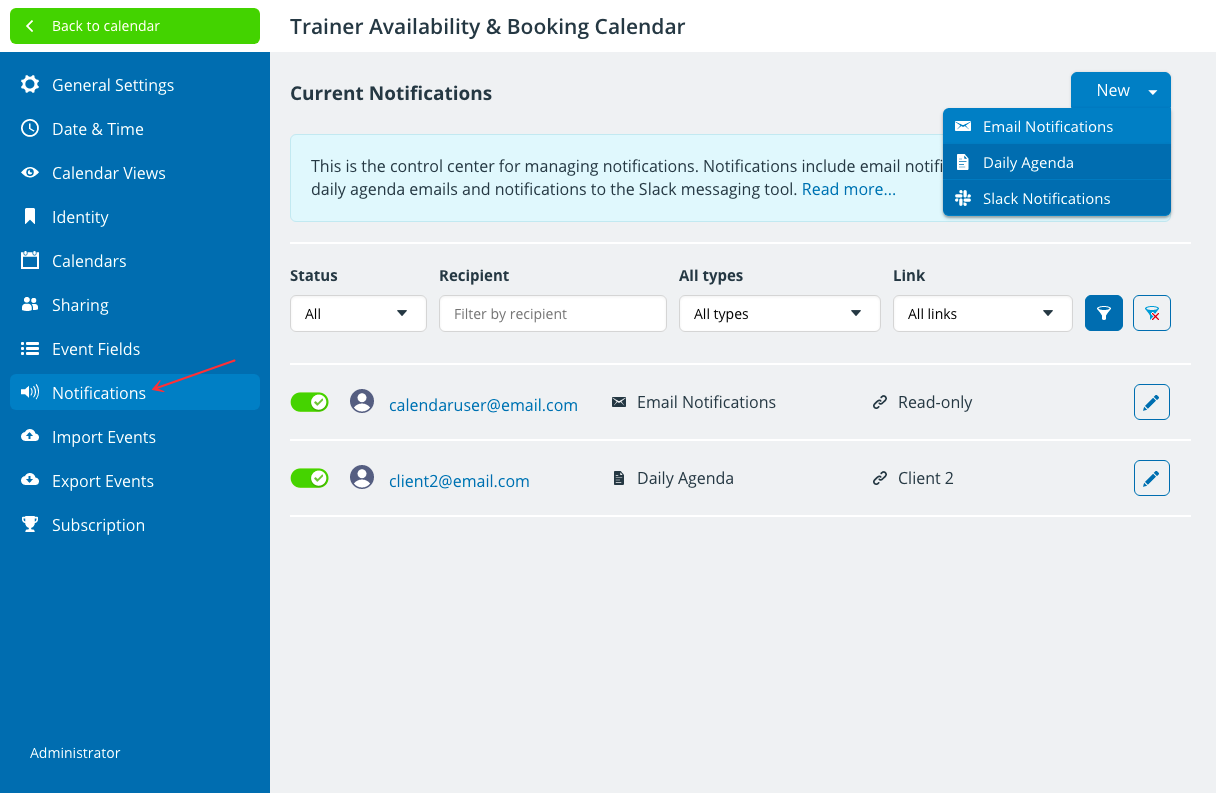
- Teamup calendar supports email notifications, daily agenda emails, event reminders, and Slack integration.
- Teamup email notifications allow calendar users to be notified when changes are made to events on the calendar, whereas event reminders alert calendar users of upcoming events.
- If user signup for notifications is enabled (in General Settings), account-based users will be able to add or modify their own notification subscriptions.
Import Events
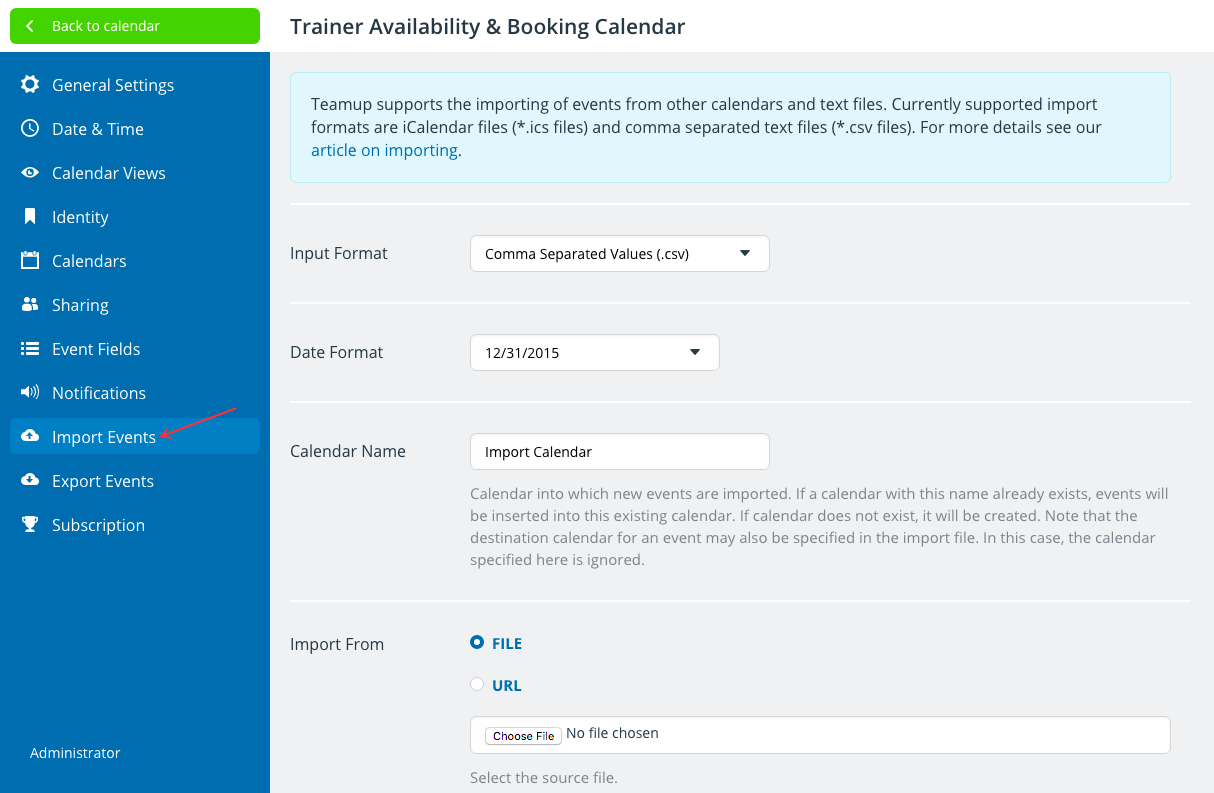
- You can import calendar data from other calendar applications, spreadsheets, databases and text fields.
- Currently supported import formats are iCalendar files (#.ics) and text files with comma-separated values (*.csv).
- You can also import data from one Teamup Calendar to another.
- Only the calendar administrator can import files.
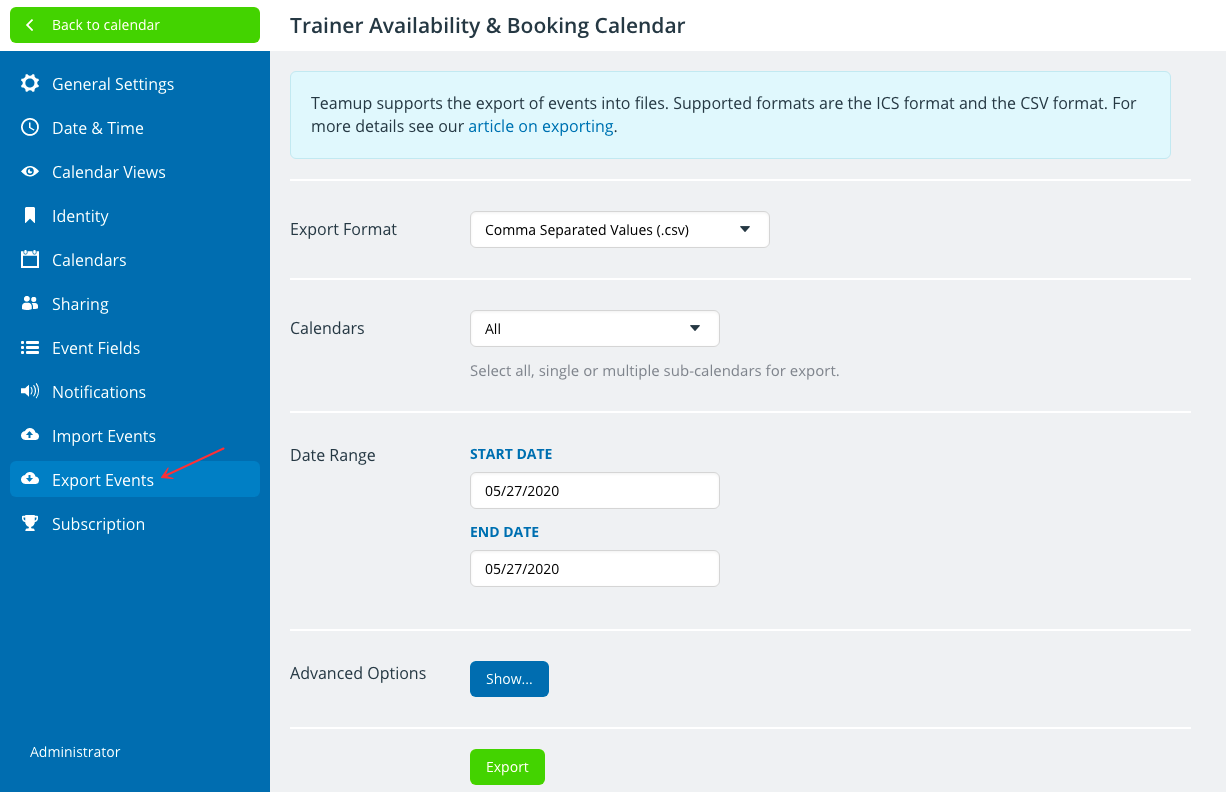
Export Events
- You can bulk export calendar data from your Teamup Calendar to text files with comma-separated values (.csv) or iCalendar files (.ics).
- It is possible to choose to export events from a specific sub-calendar or all calendars.
- You can also export event signups and event comments in the .csv file format.
- Only the calendar administrator can bulk export.
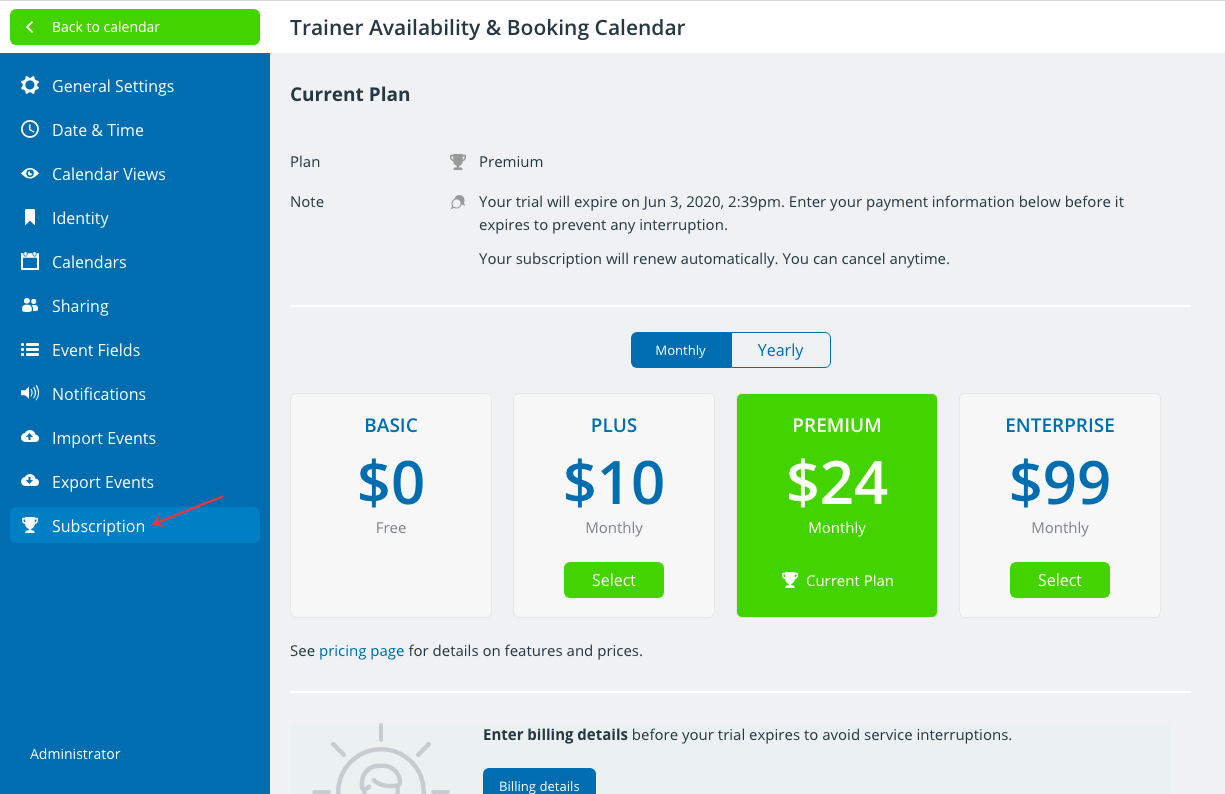
Subscription
- There are four subscription plans available for Teamup Calendar: Basic (free), Plus, Premium, and Enterprise.
- To test Teamup Plus or Premium features before purchasing an upgrade, start a free trial calendar or use a live demo calendar.
- When you are ready to upgrade to a different plan, simply click the relevant upgrade button and complete the payment.
- As soon as the payment is successfully completed, the upgrade takes place automatically.
Ready to get started?
All the features you need. Easy to learn.
get inspired by browsing what others say and our million thanks.
TABLE OF CONTENTS
